
How to Document & Measure Your Space
In order to develop a design for you, we first need all the details of the space documented accurately. Please follow the instructions below to document your room. Thank you.
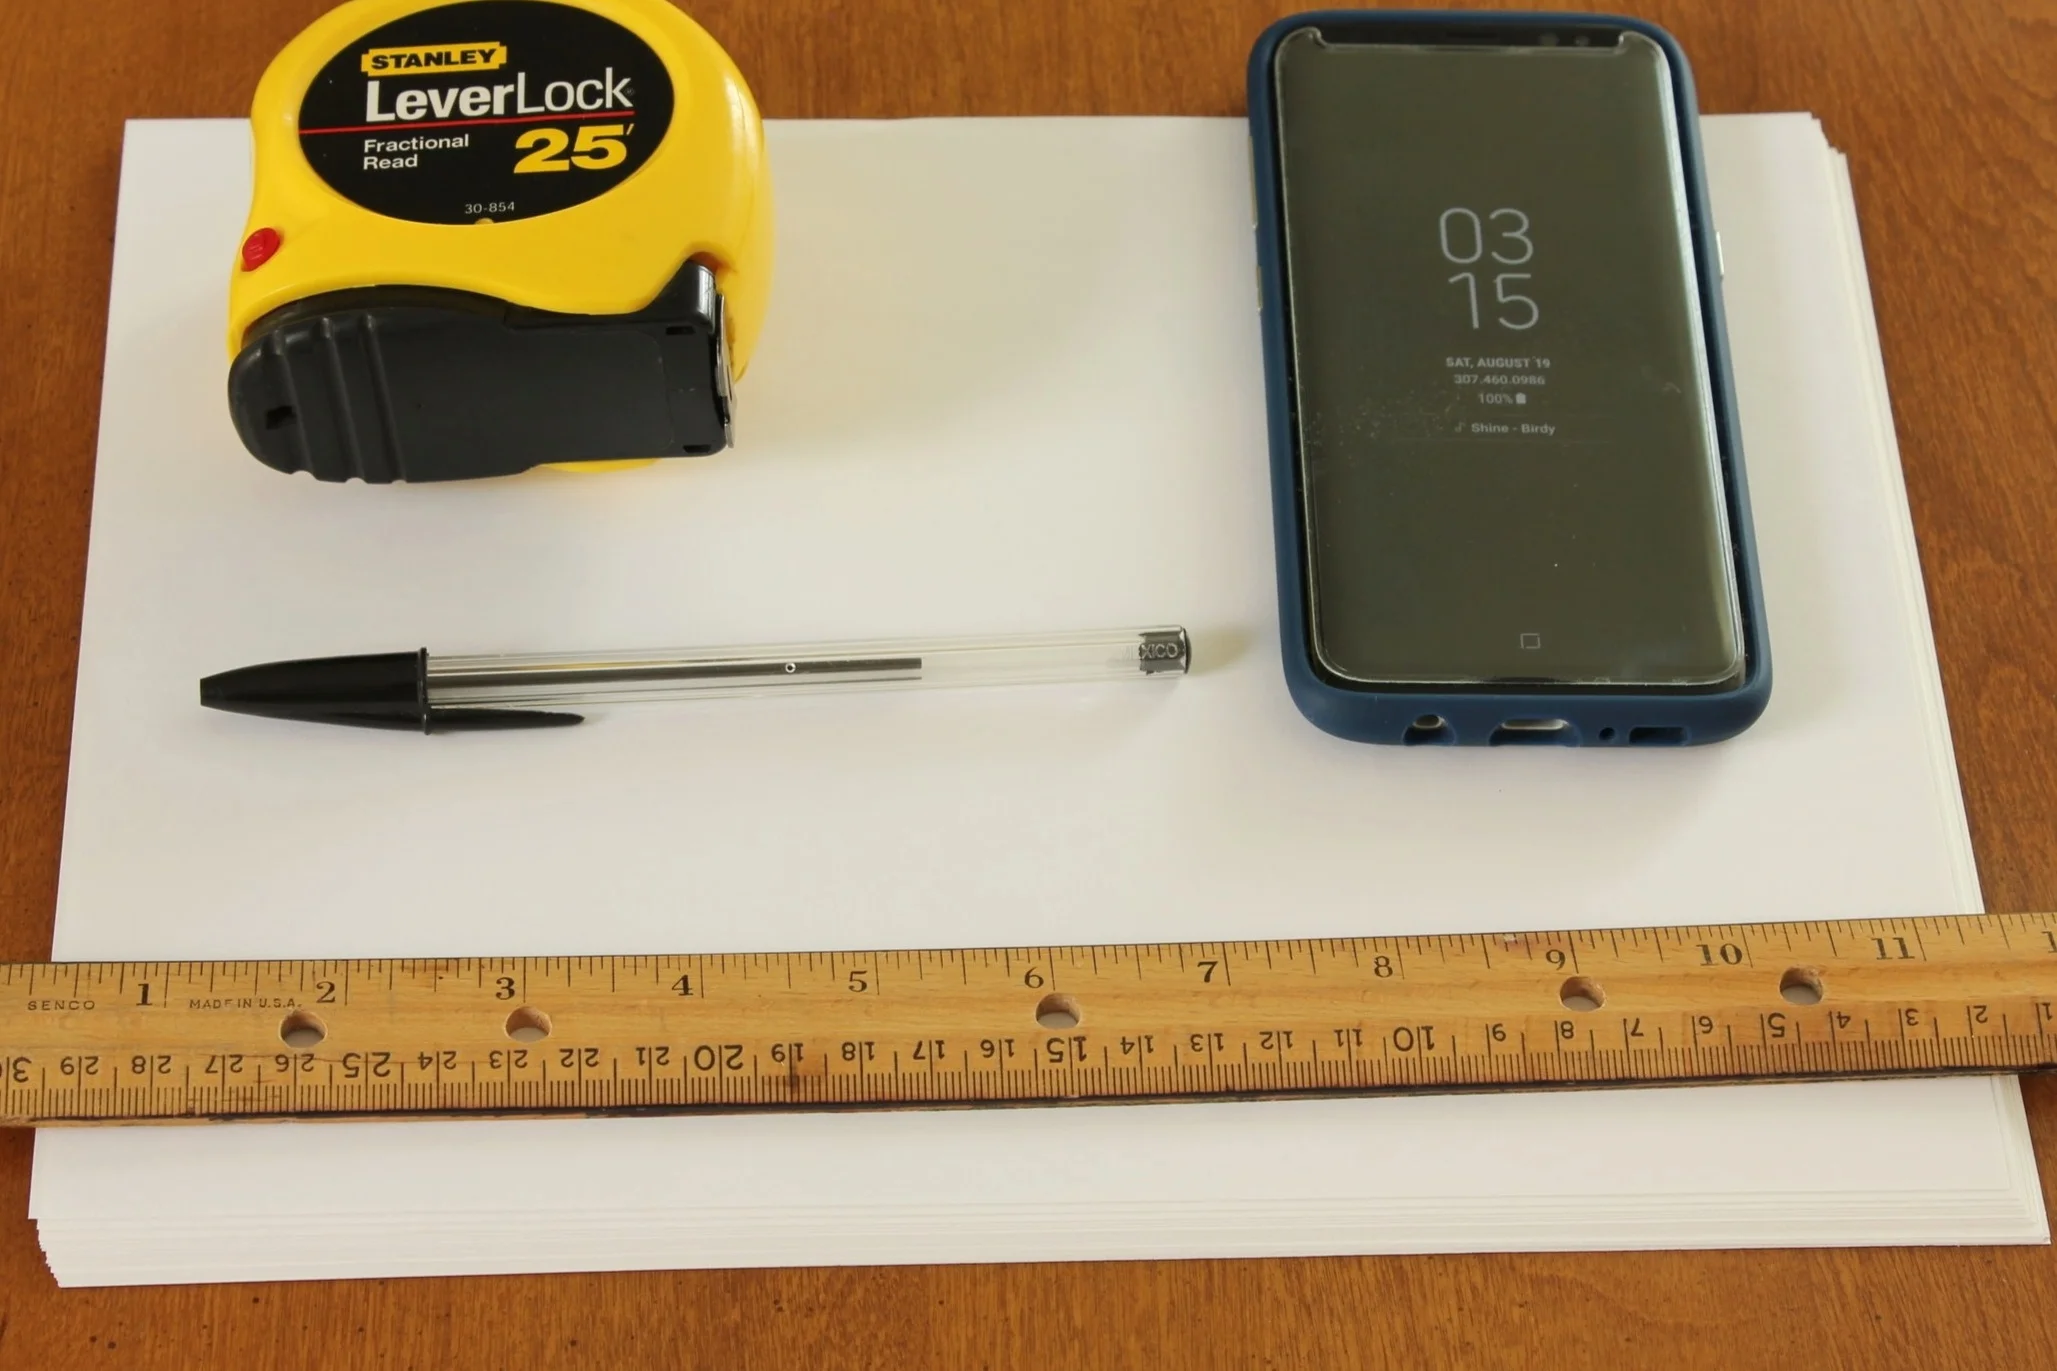
First Things First…Gather Your Tools
Tape Measurer
Pen
Ruler
Paper
Camera (phone camera works great)
Printer
The FREE App Image Meter- Use this simple app if you wish to draw your measurements straight onto the image on your phone, instead of printing, drawing lines, and writing on them as shown below. Both work, so do what is easiest for your skill level. Remember accuracy is the goal.
FLOOR PLAN
STEP 1
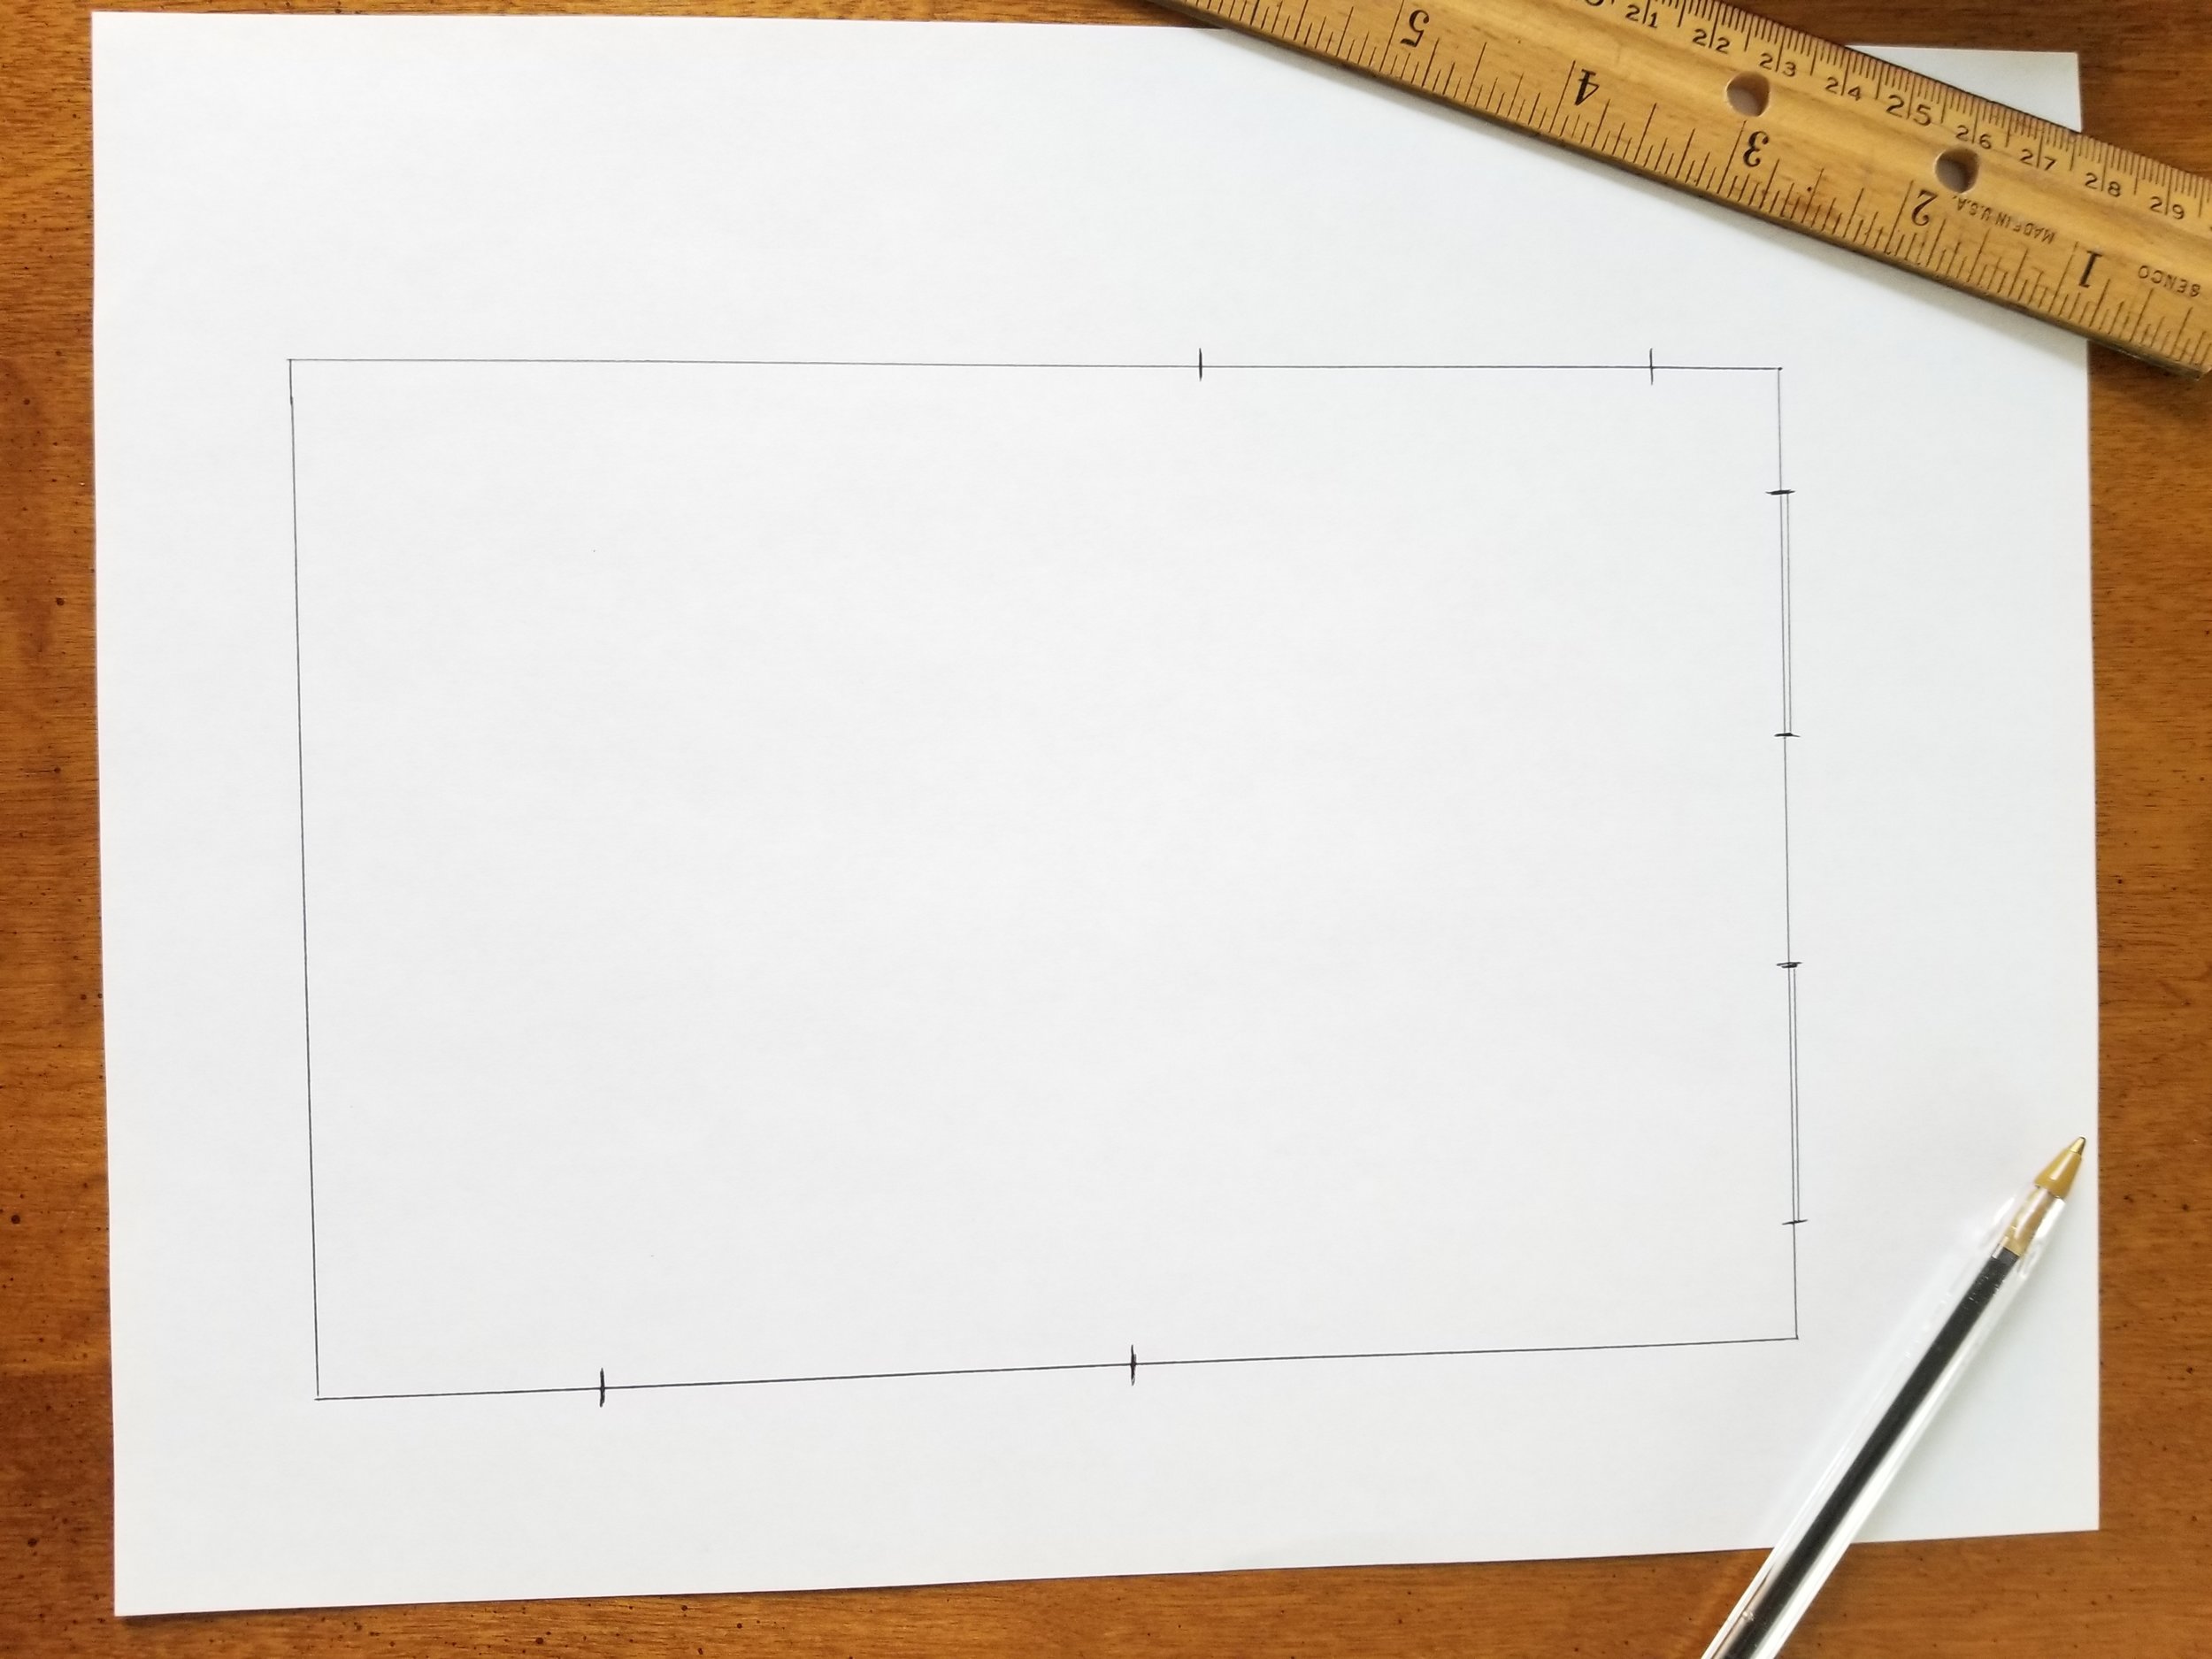
Floorplans show all the horizontal measurements of a space. Draw out the footprint of the space accounting for every change be it a fireplace jutting into the room, built-ins, windows, doorways, hallways, etc. Another way to think of it is a bird's eye view if that helps.
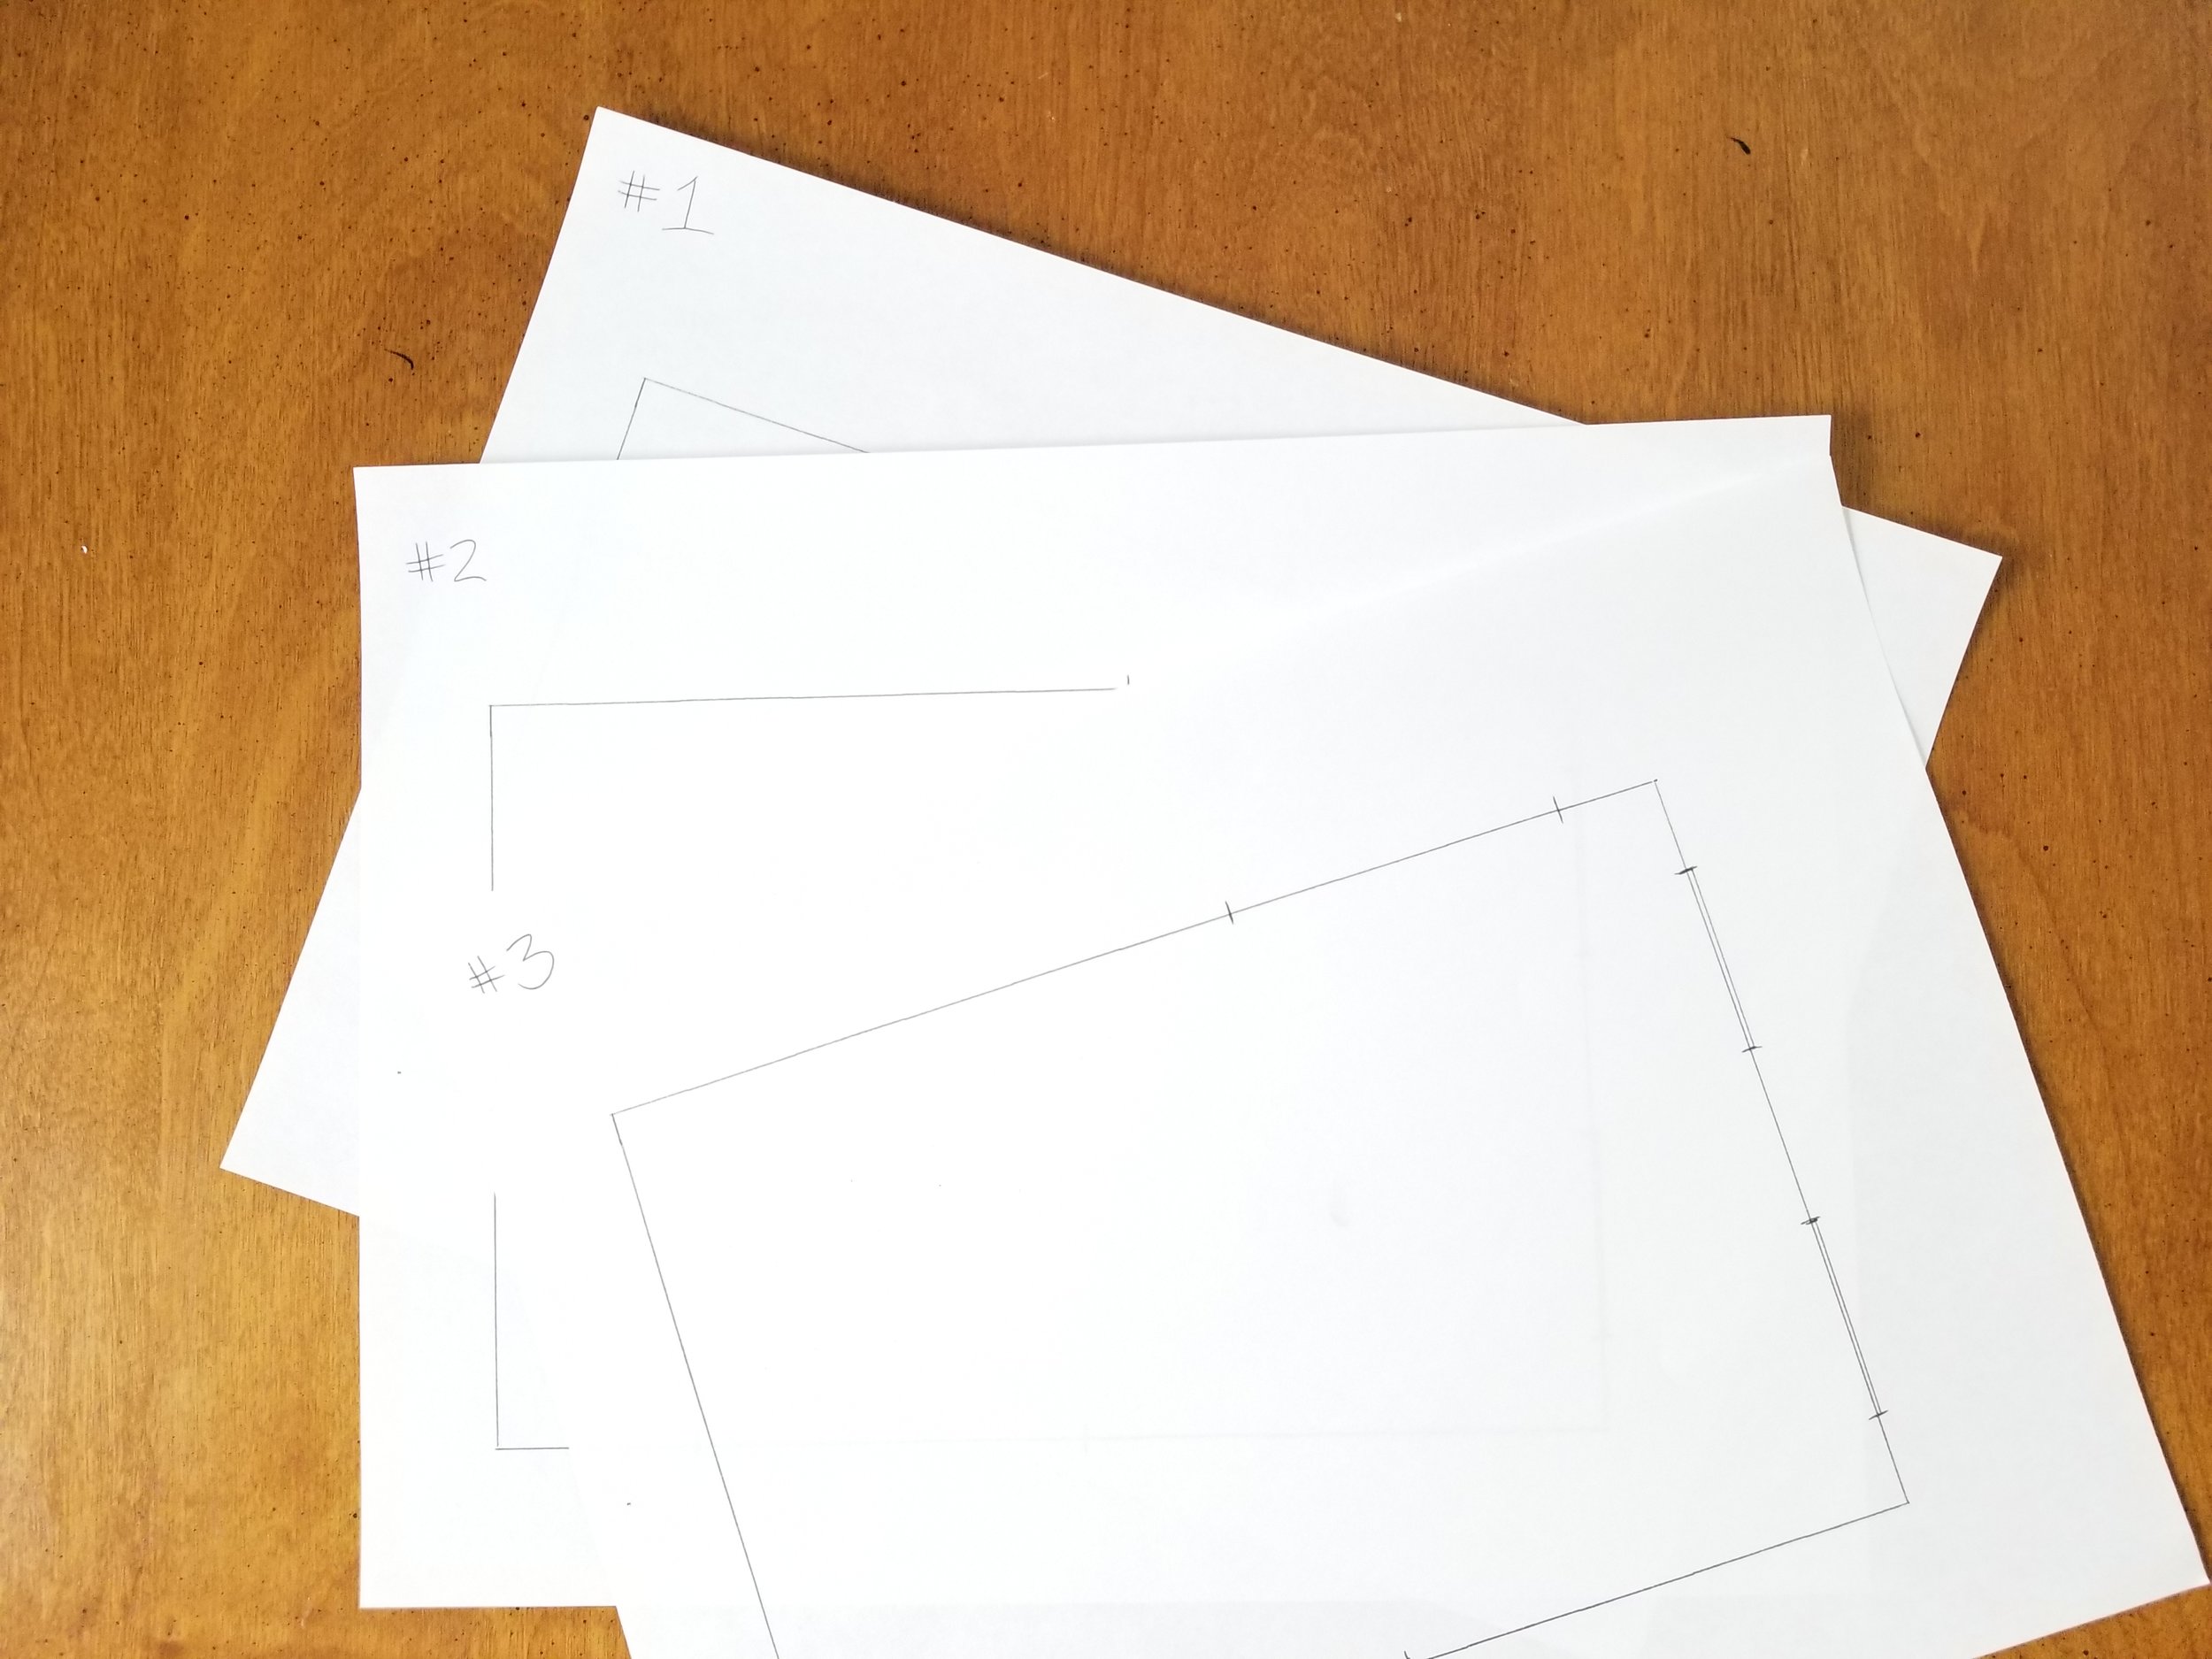
Make 2 copies so that you now have 3 copies total and label them #1, #2, #3.
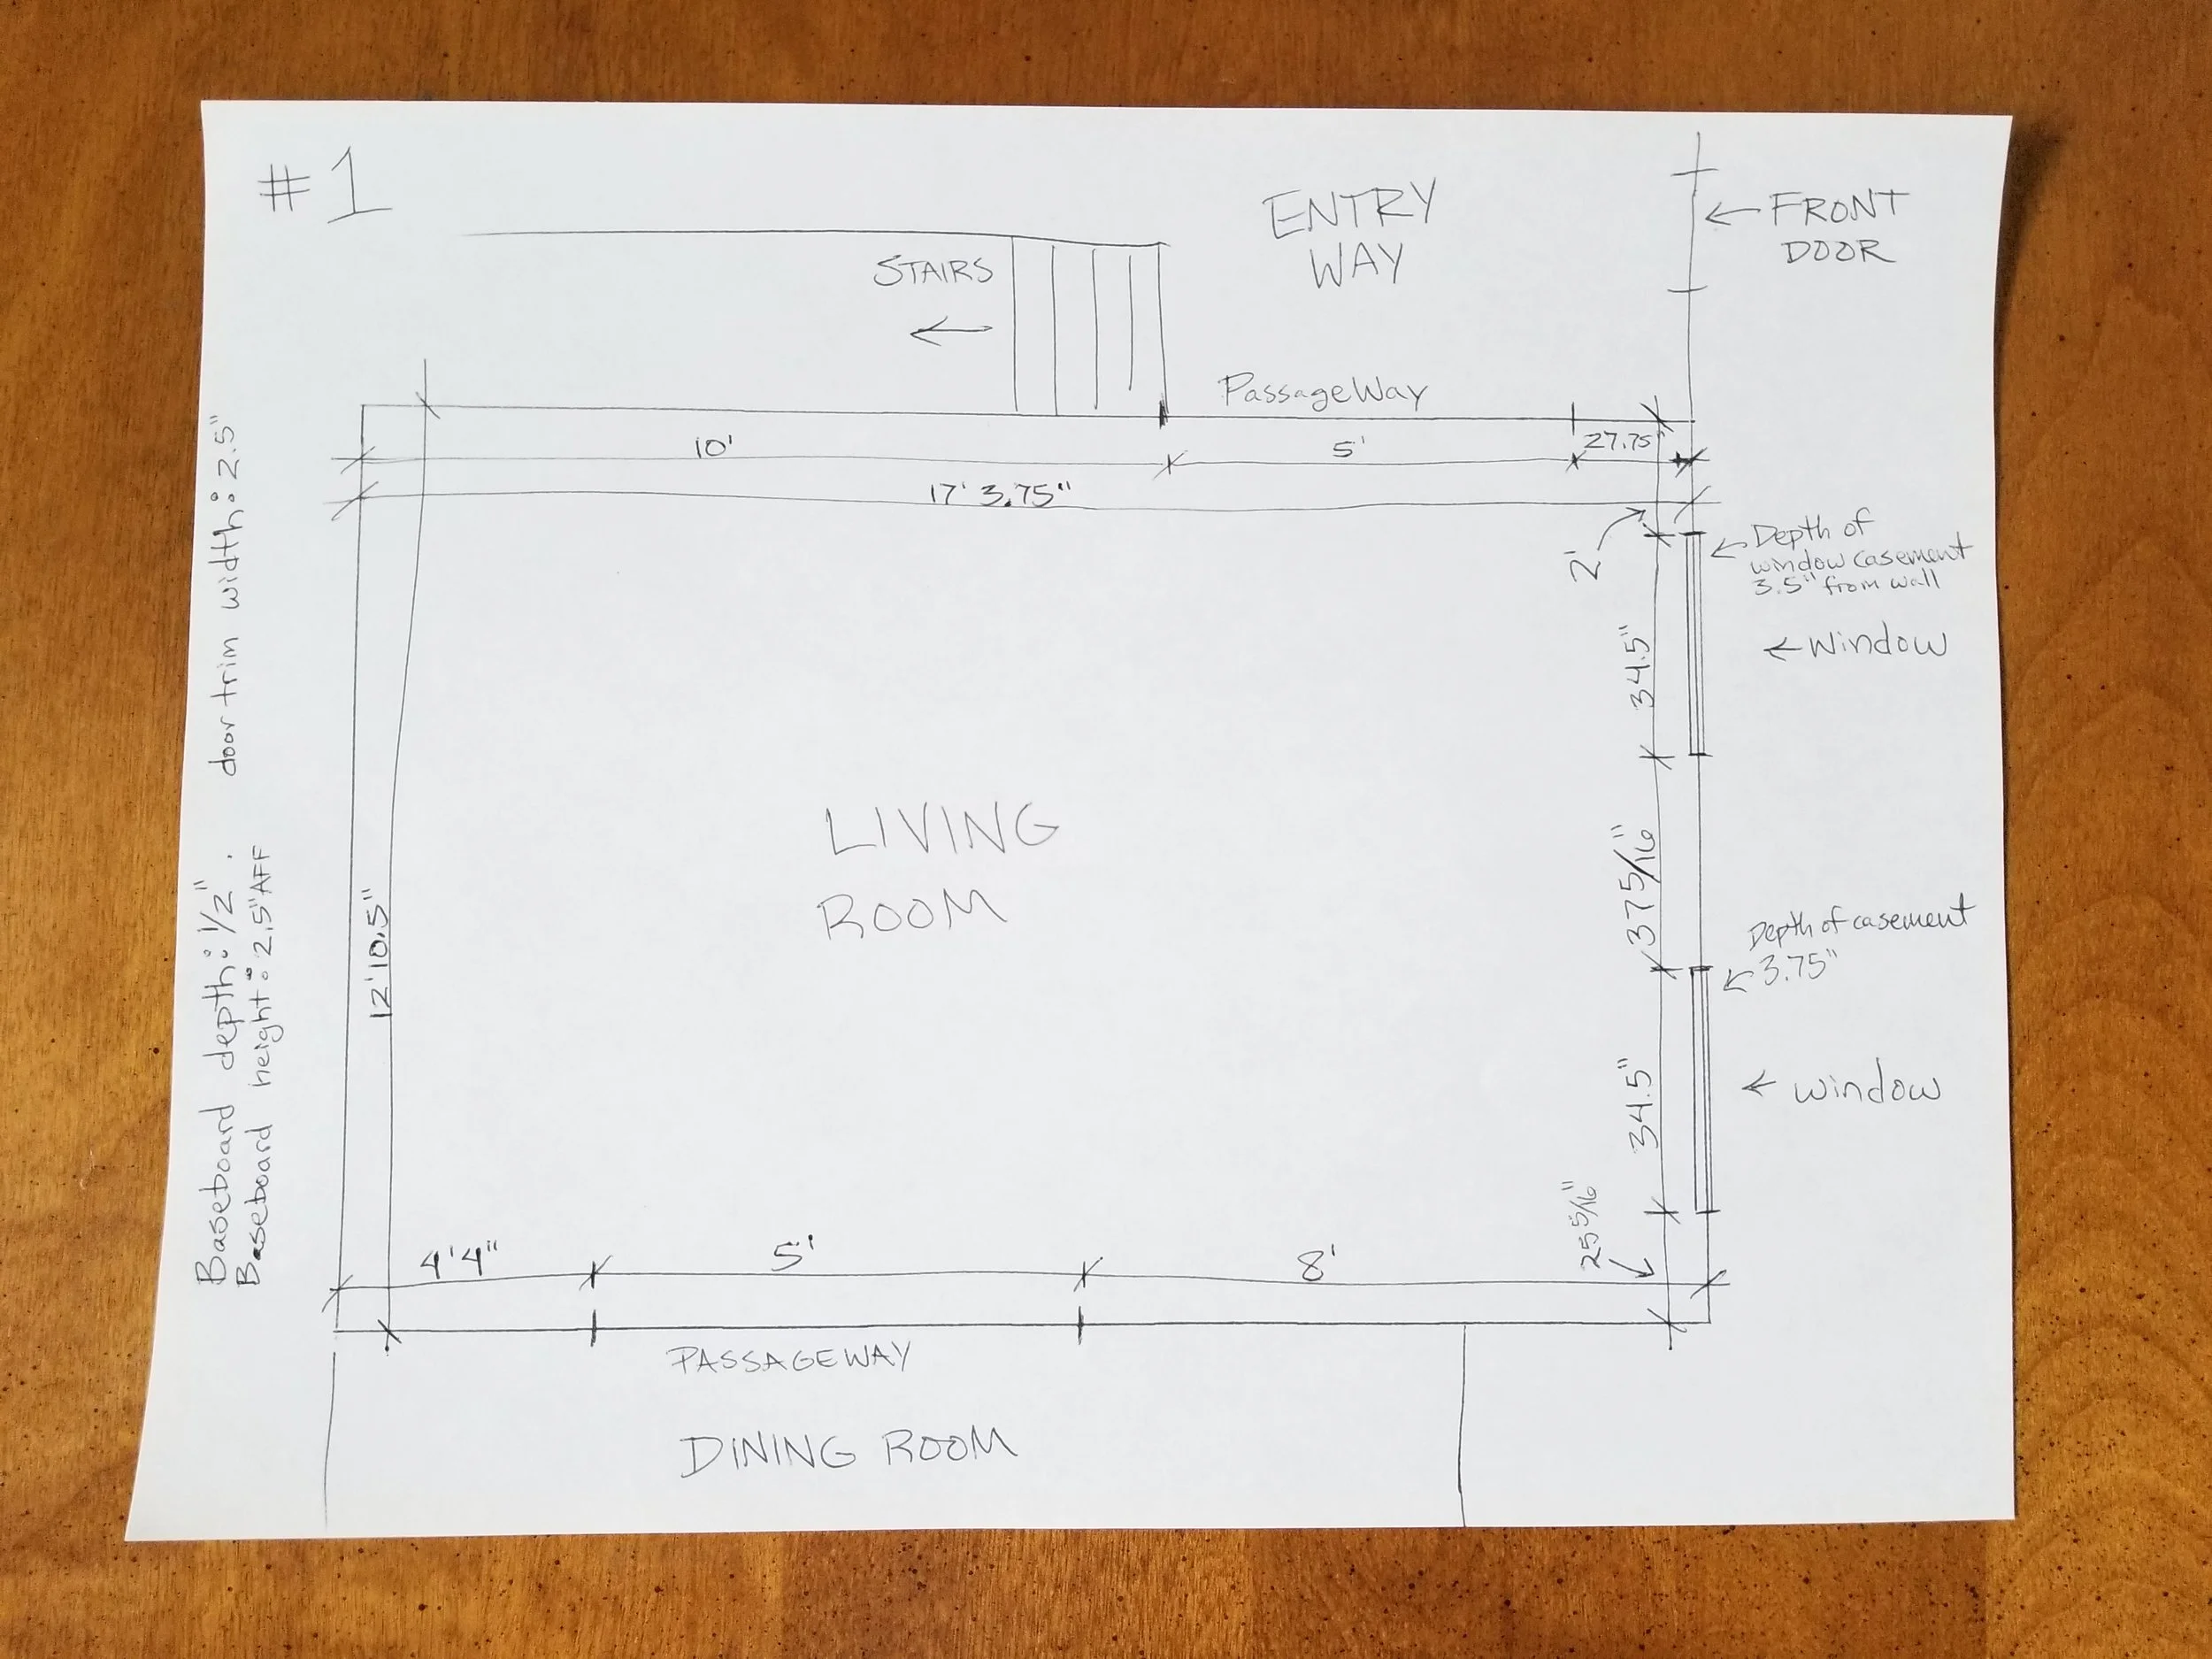
STEP 2
On floorplan #1 - Measure each detail of the space's footprint from corner to corner using feet and inches (You may measure in Feet or Inches. Be sure to annotate ‘ for feet and “ for inches. Example: 5 feet 3 inches = 5’3”) and write it down next to that wall or feature. Also measure the placement of windows and doors and which direction the doors or windows swing into or out of the space. Label important areas such as "fireplace", "bay window", etc. Also label any connecting rooms such as a dining room that is connected to a living room or a kitchen through a hallway or an opening in the wall.
STEP 3
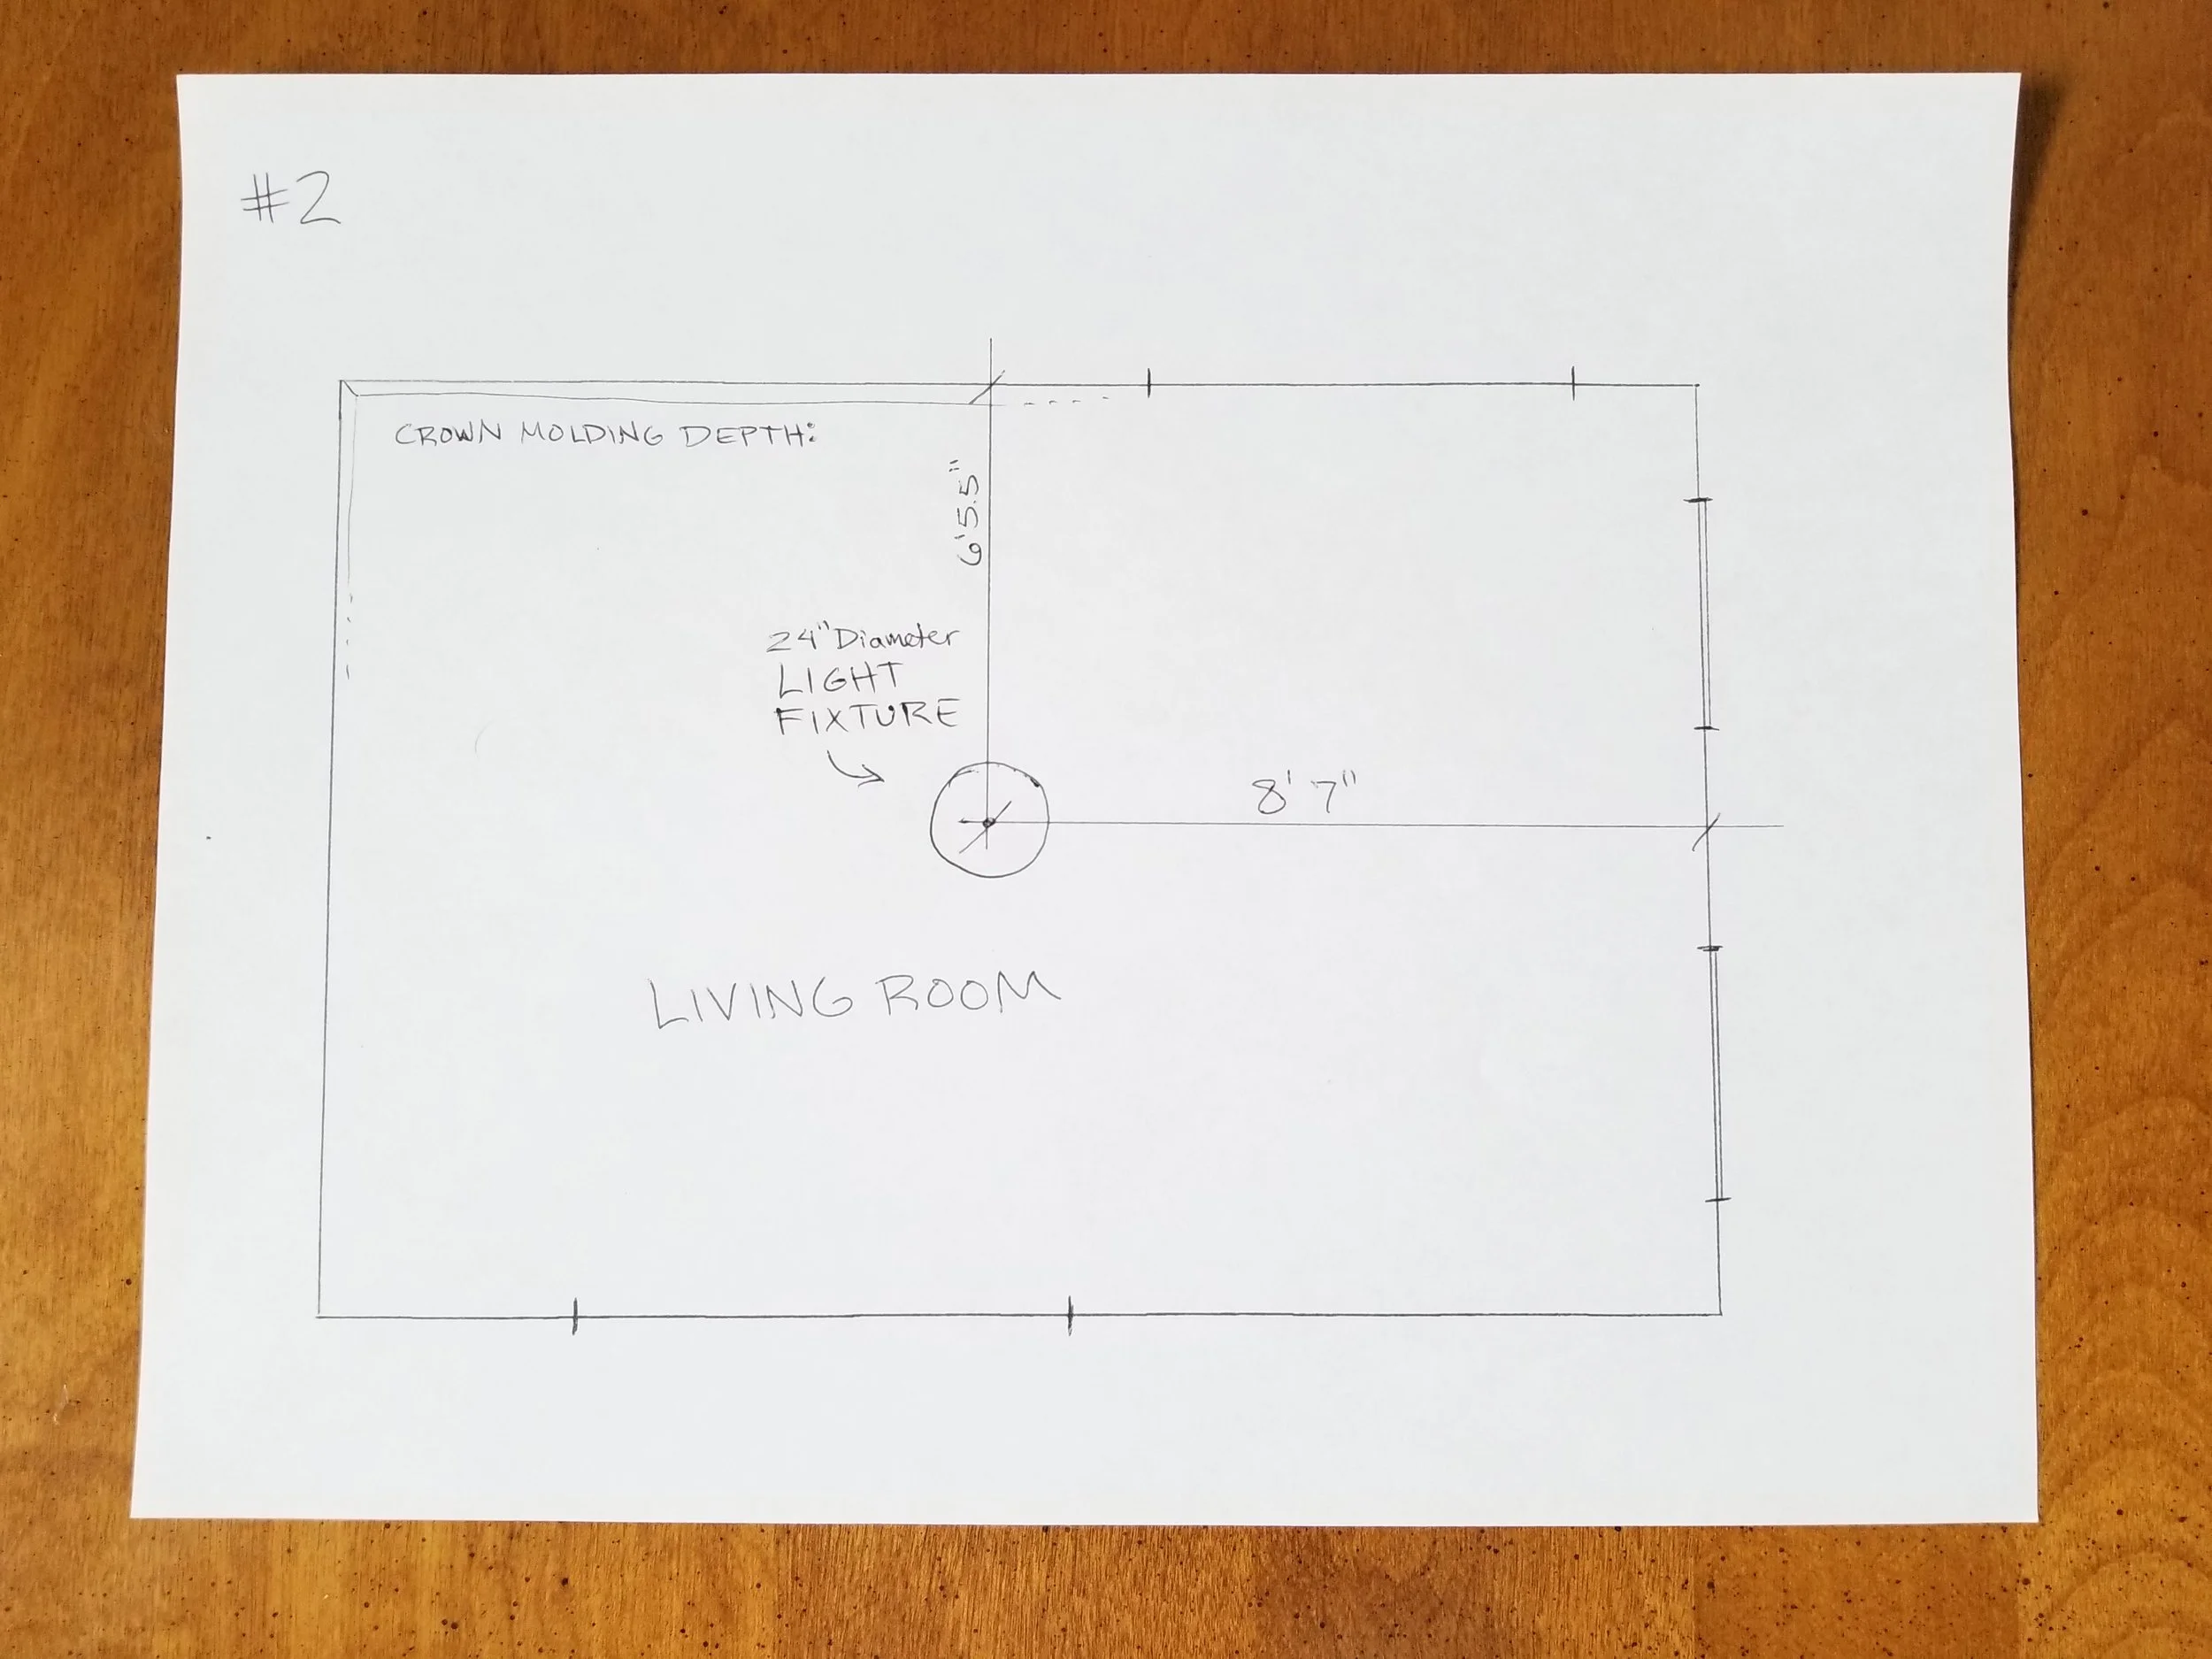
On floorplan #2 - Document the placement of any ceiling fixtures such as lighting, fans, beams, crown molding, or coffered ceilings. On high or vaulted ceilings identify the location of the lighting by measuring on the floor from each wall to the center of the light fixture.
STEP 4
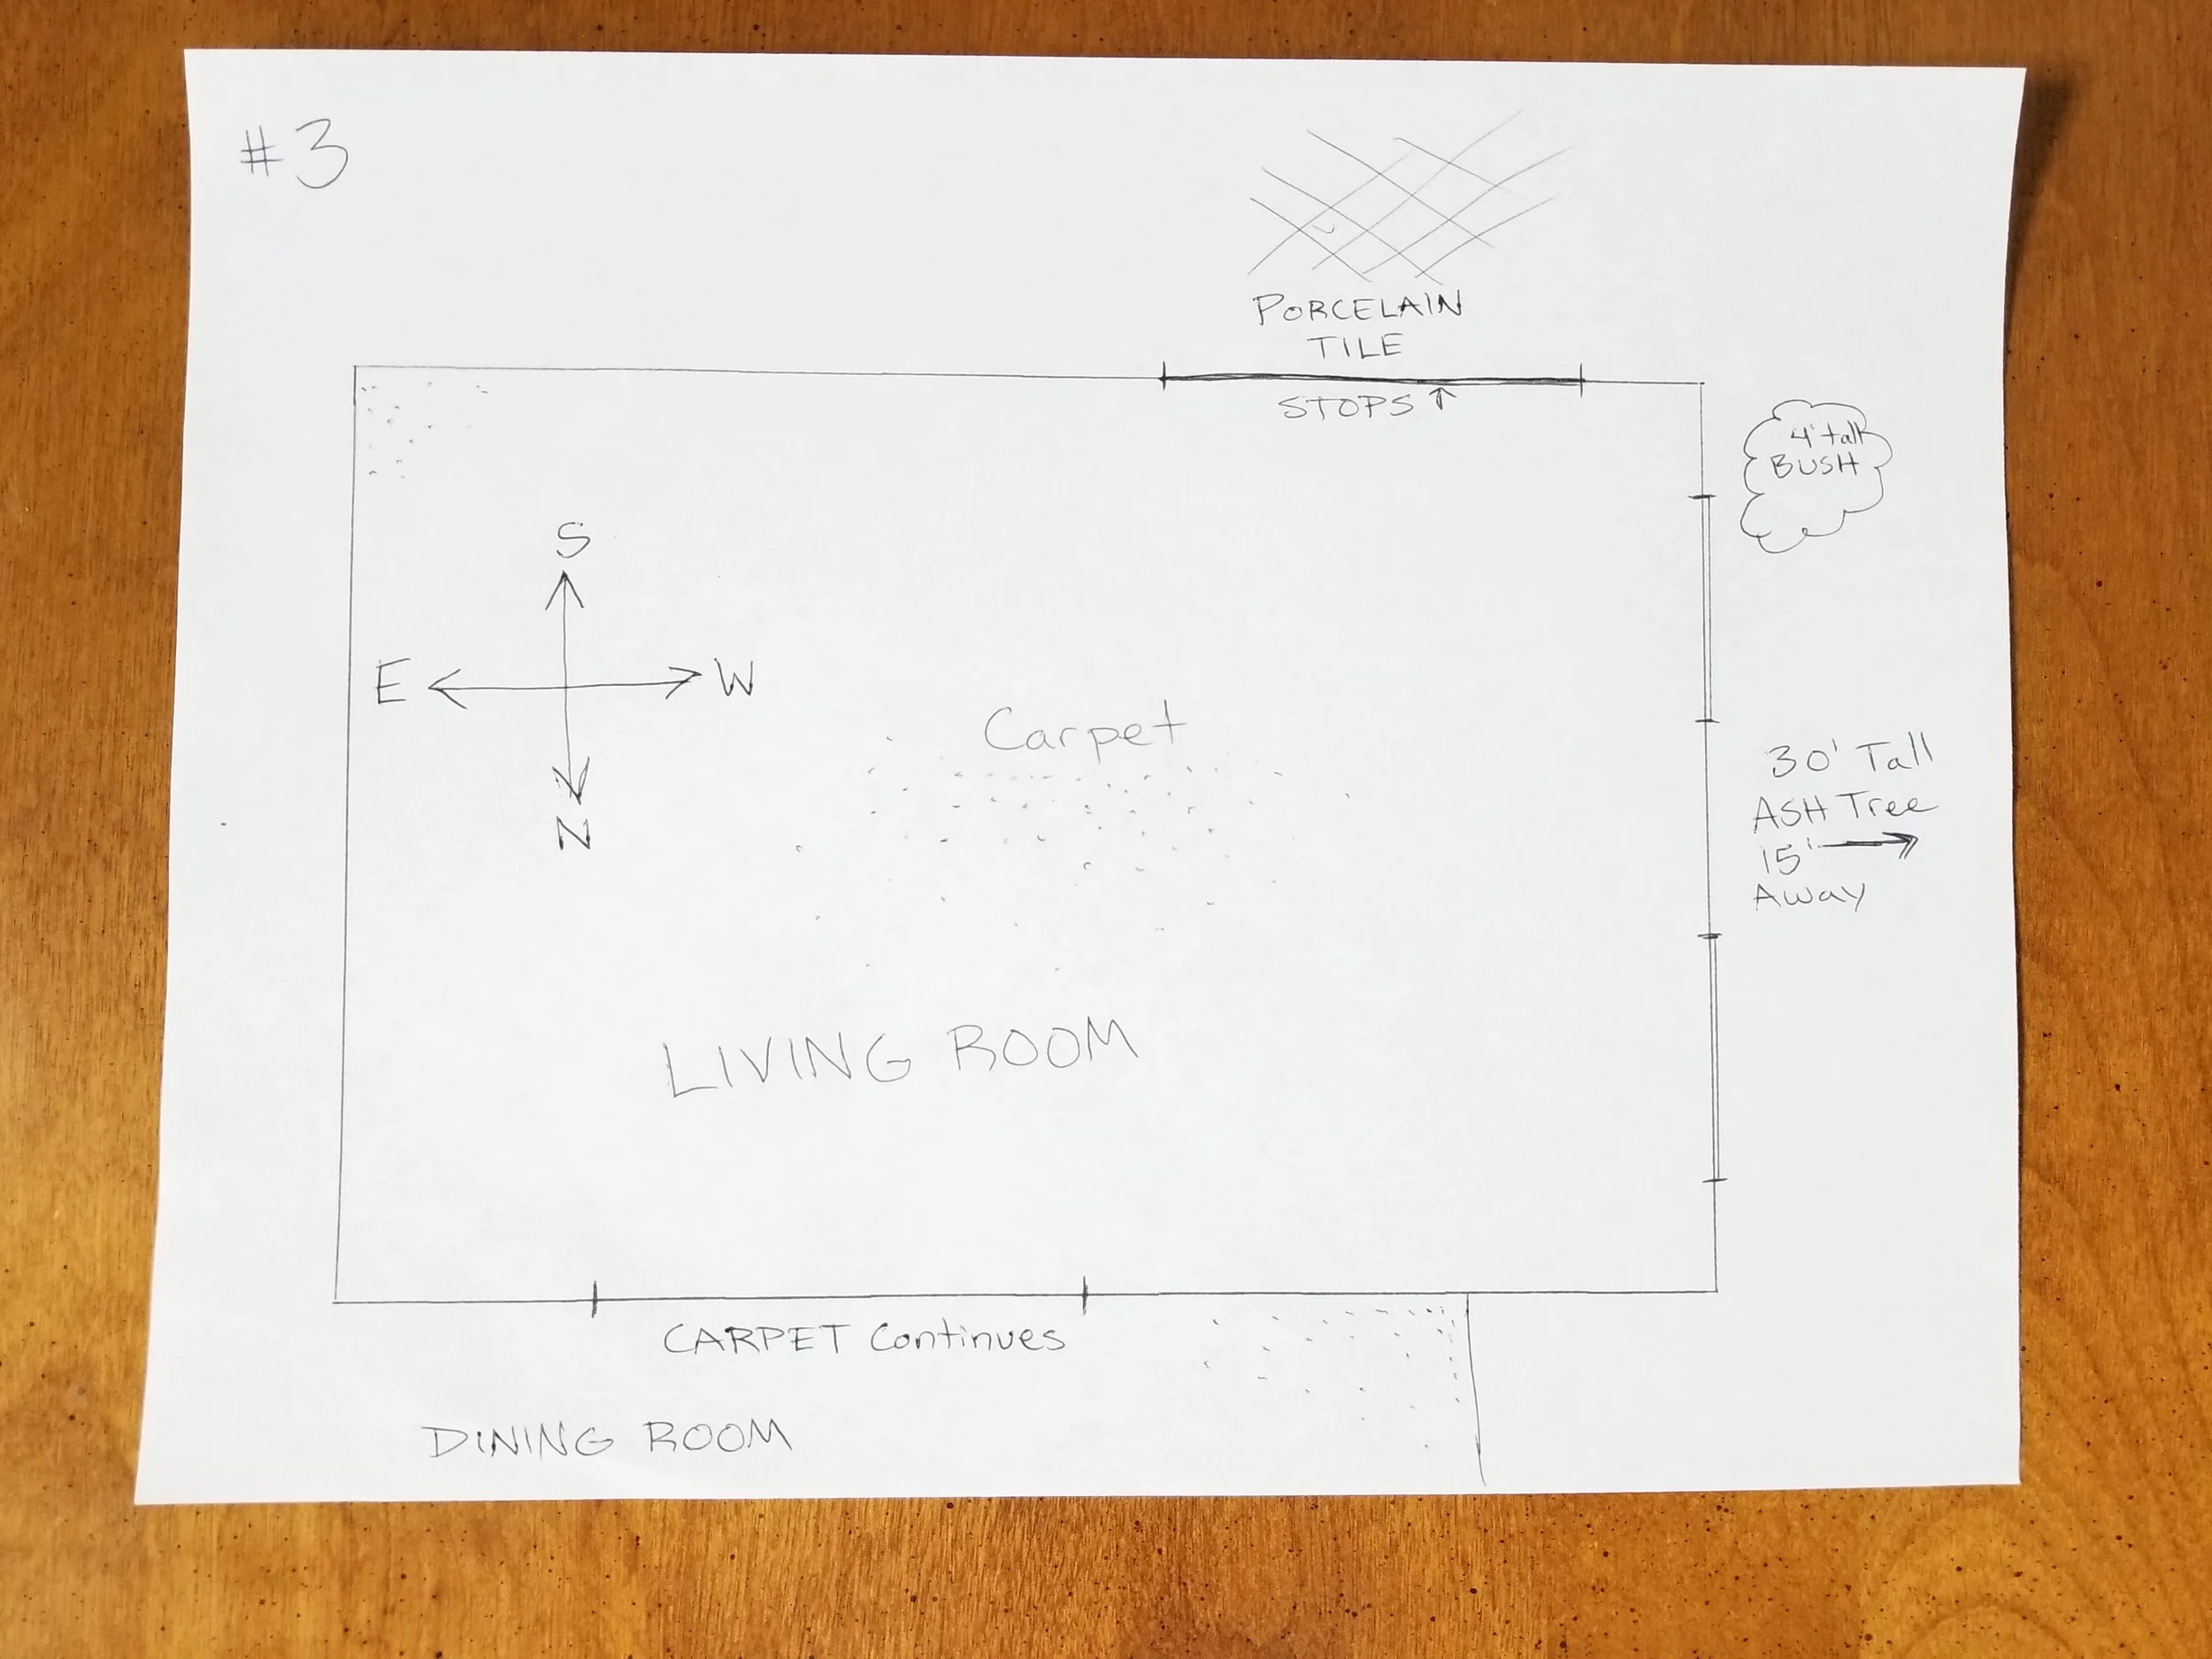
On floorplan #3 - Document the type(s) of flooring and where it starts or stops. Also, make note on the floorplan of any plants outside that block light like a big oak tree outside the window etc. Label the orientation of the space as well (North, South, East, West, NE, NW, SE, SW).
STEP 5
Take a clear picture or scan all your completed floorplans.
ELEVATIONS
STEP 1
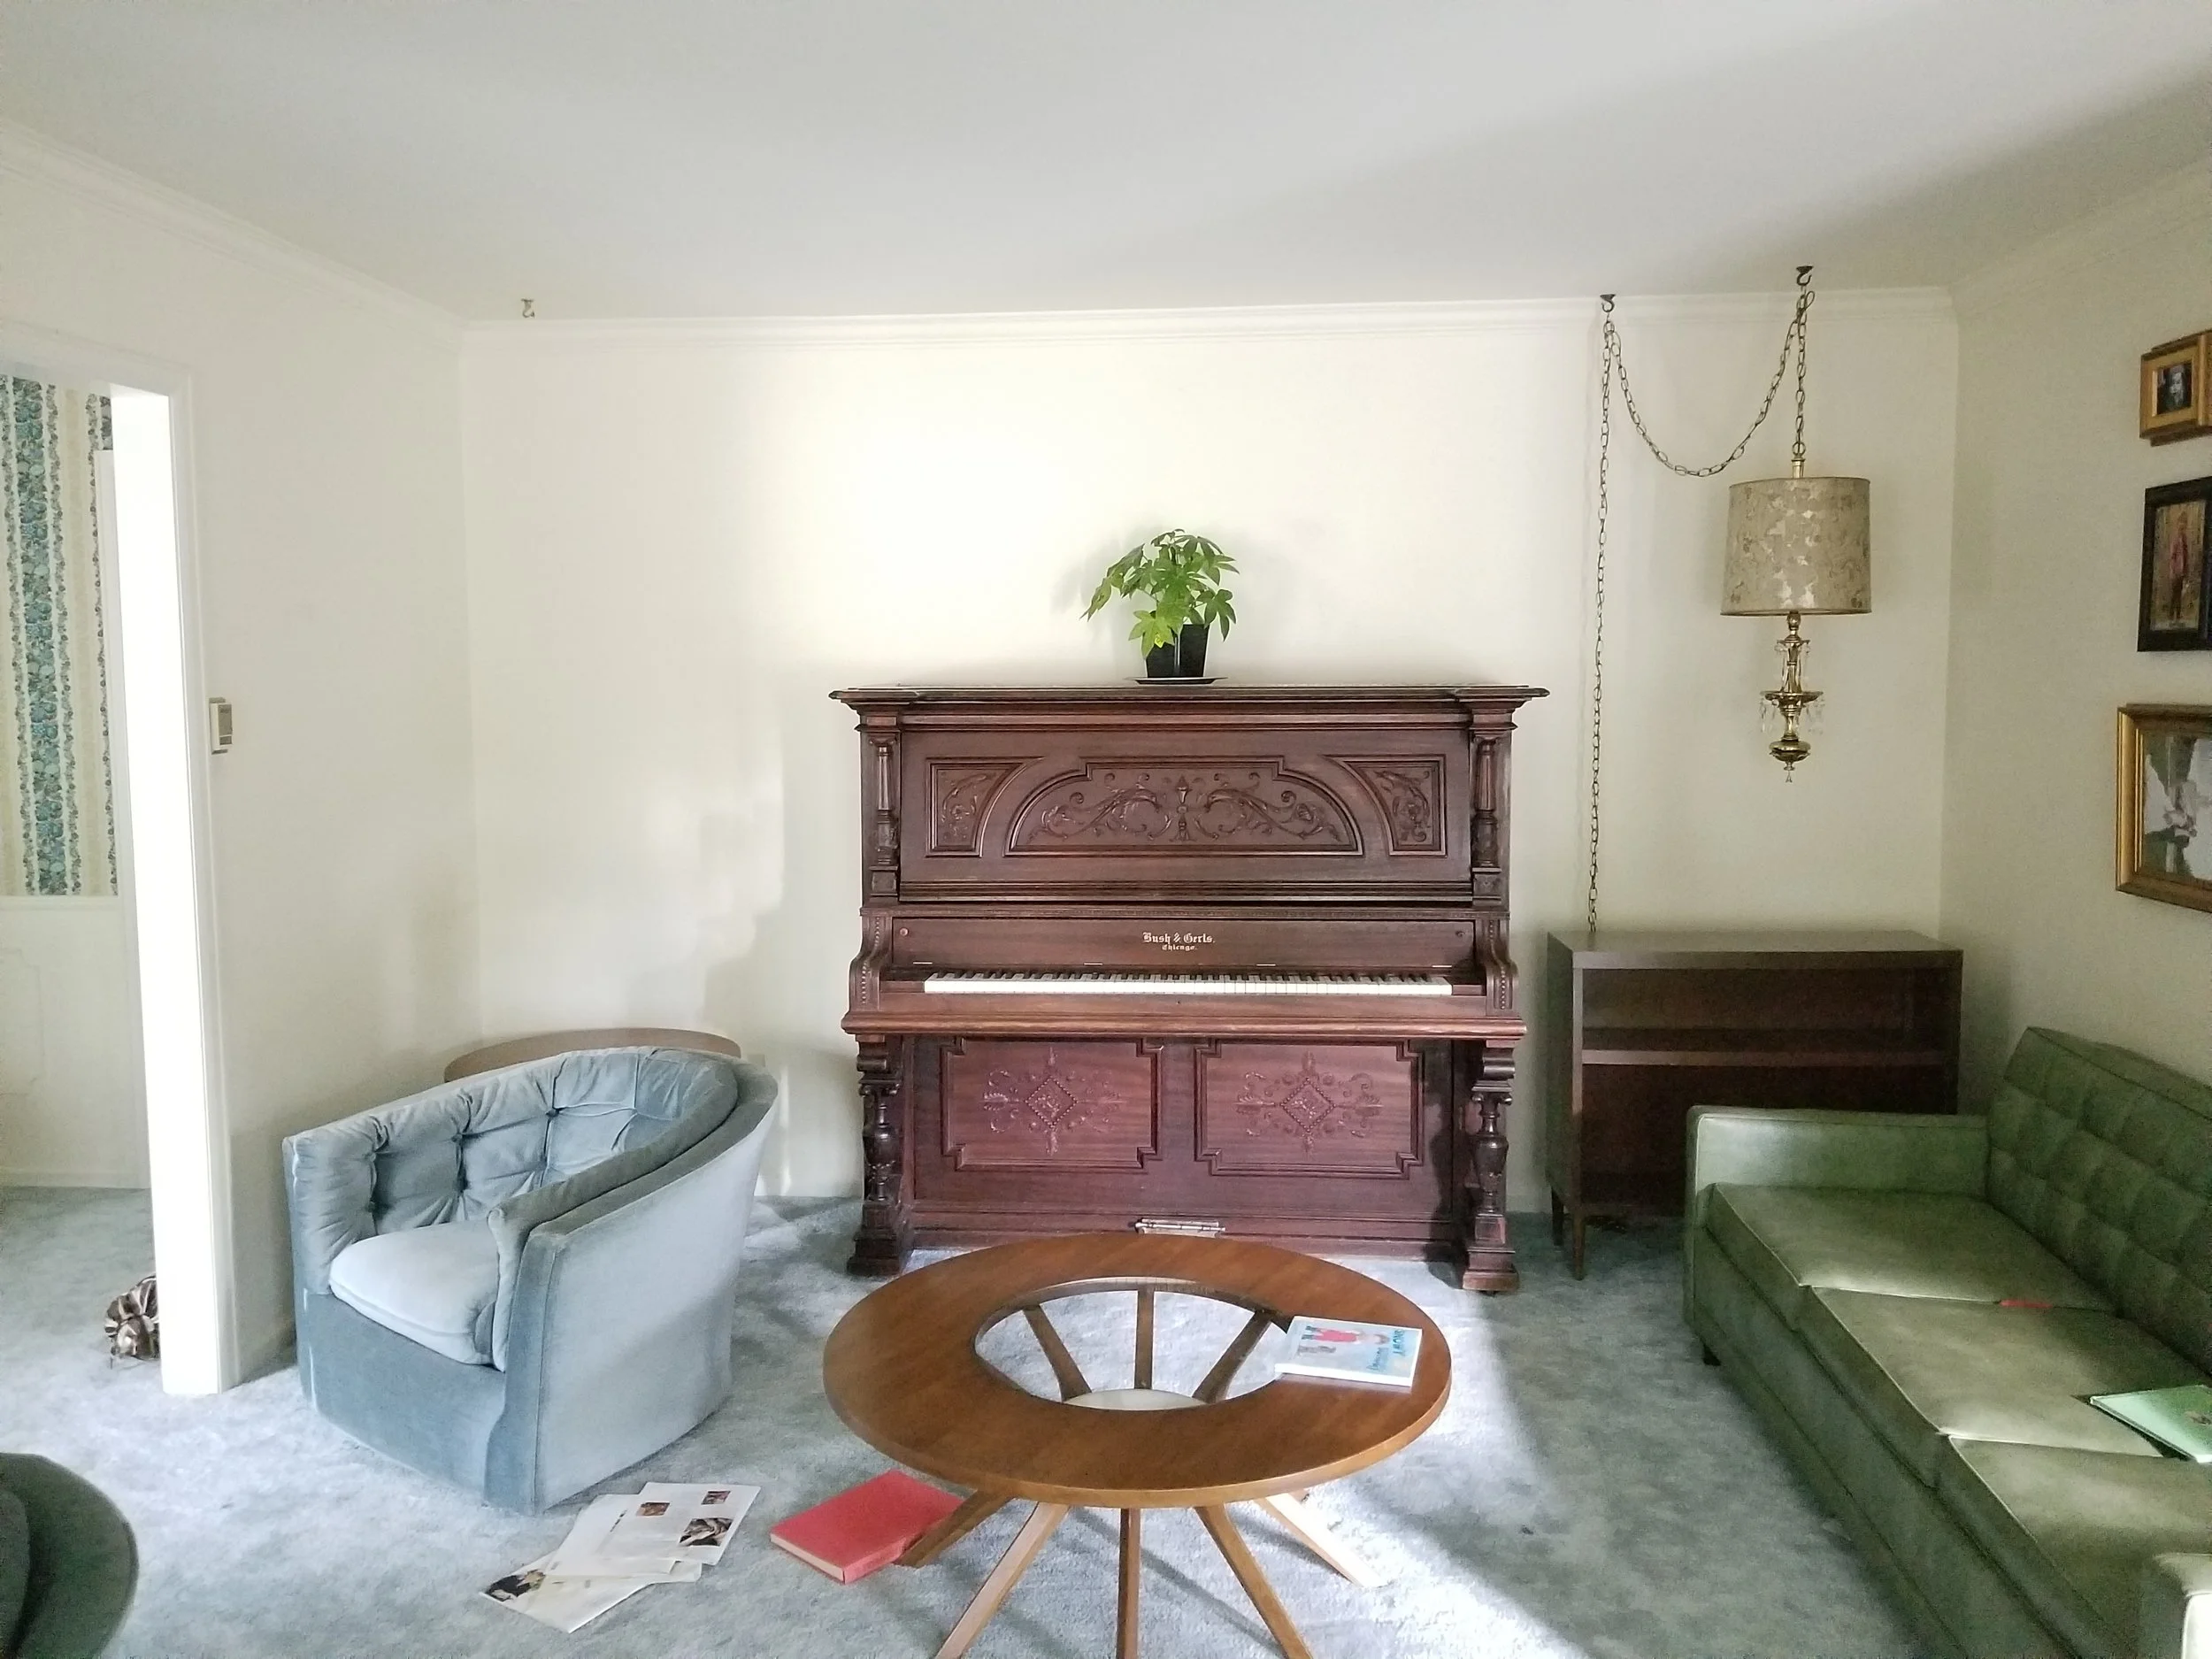
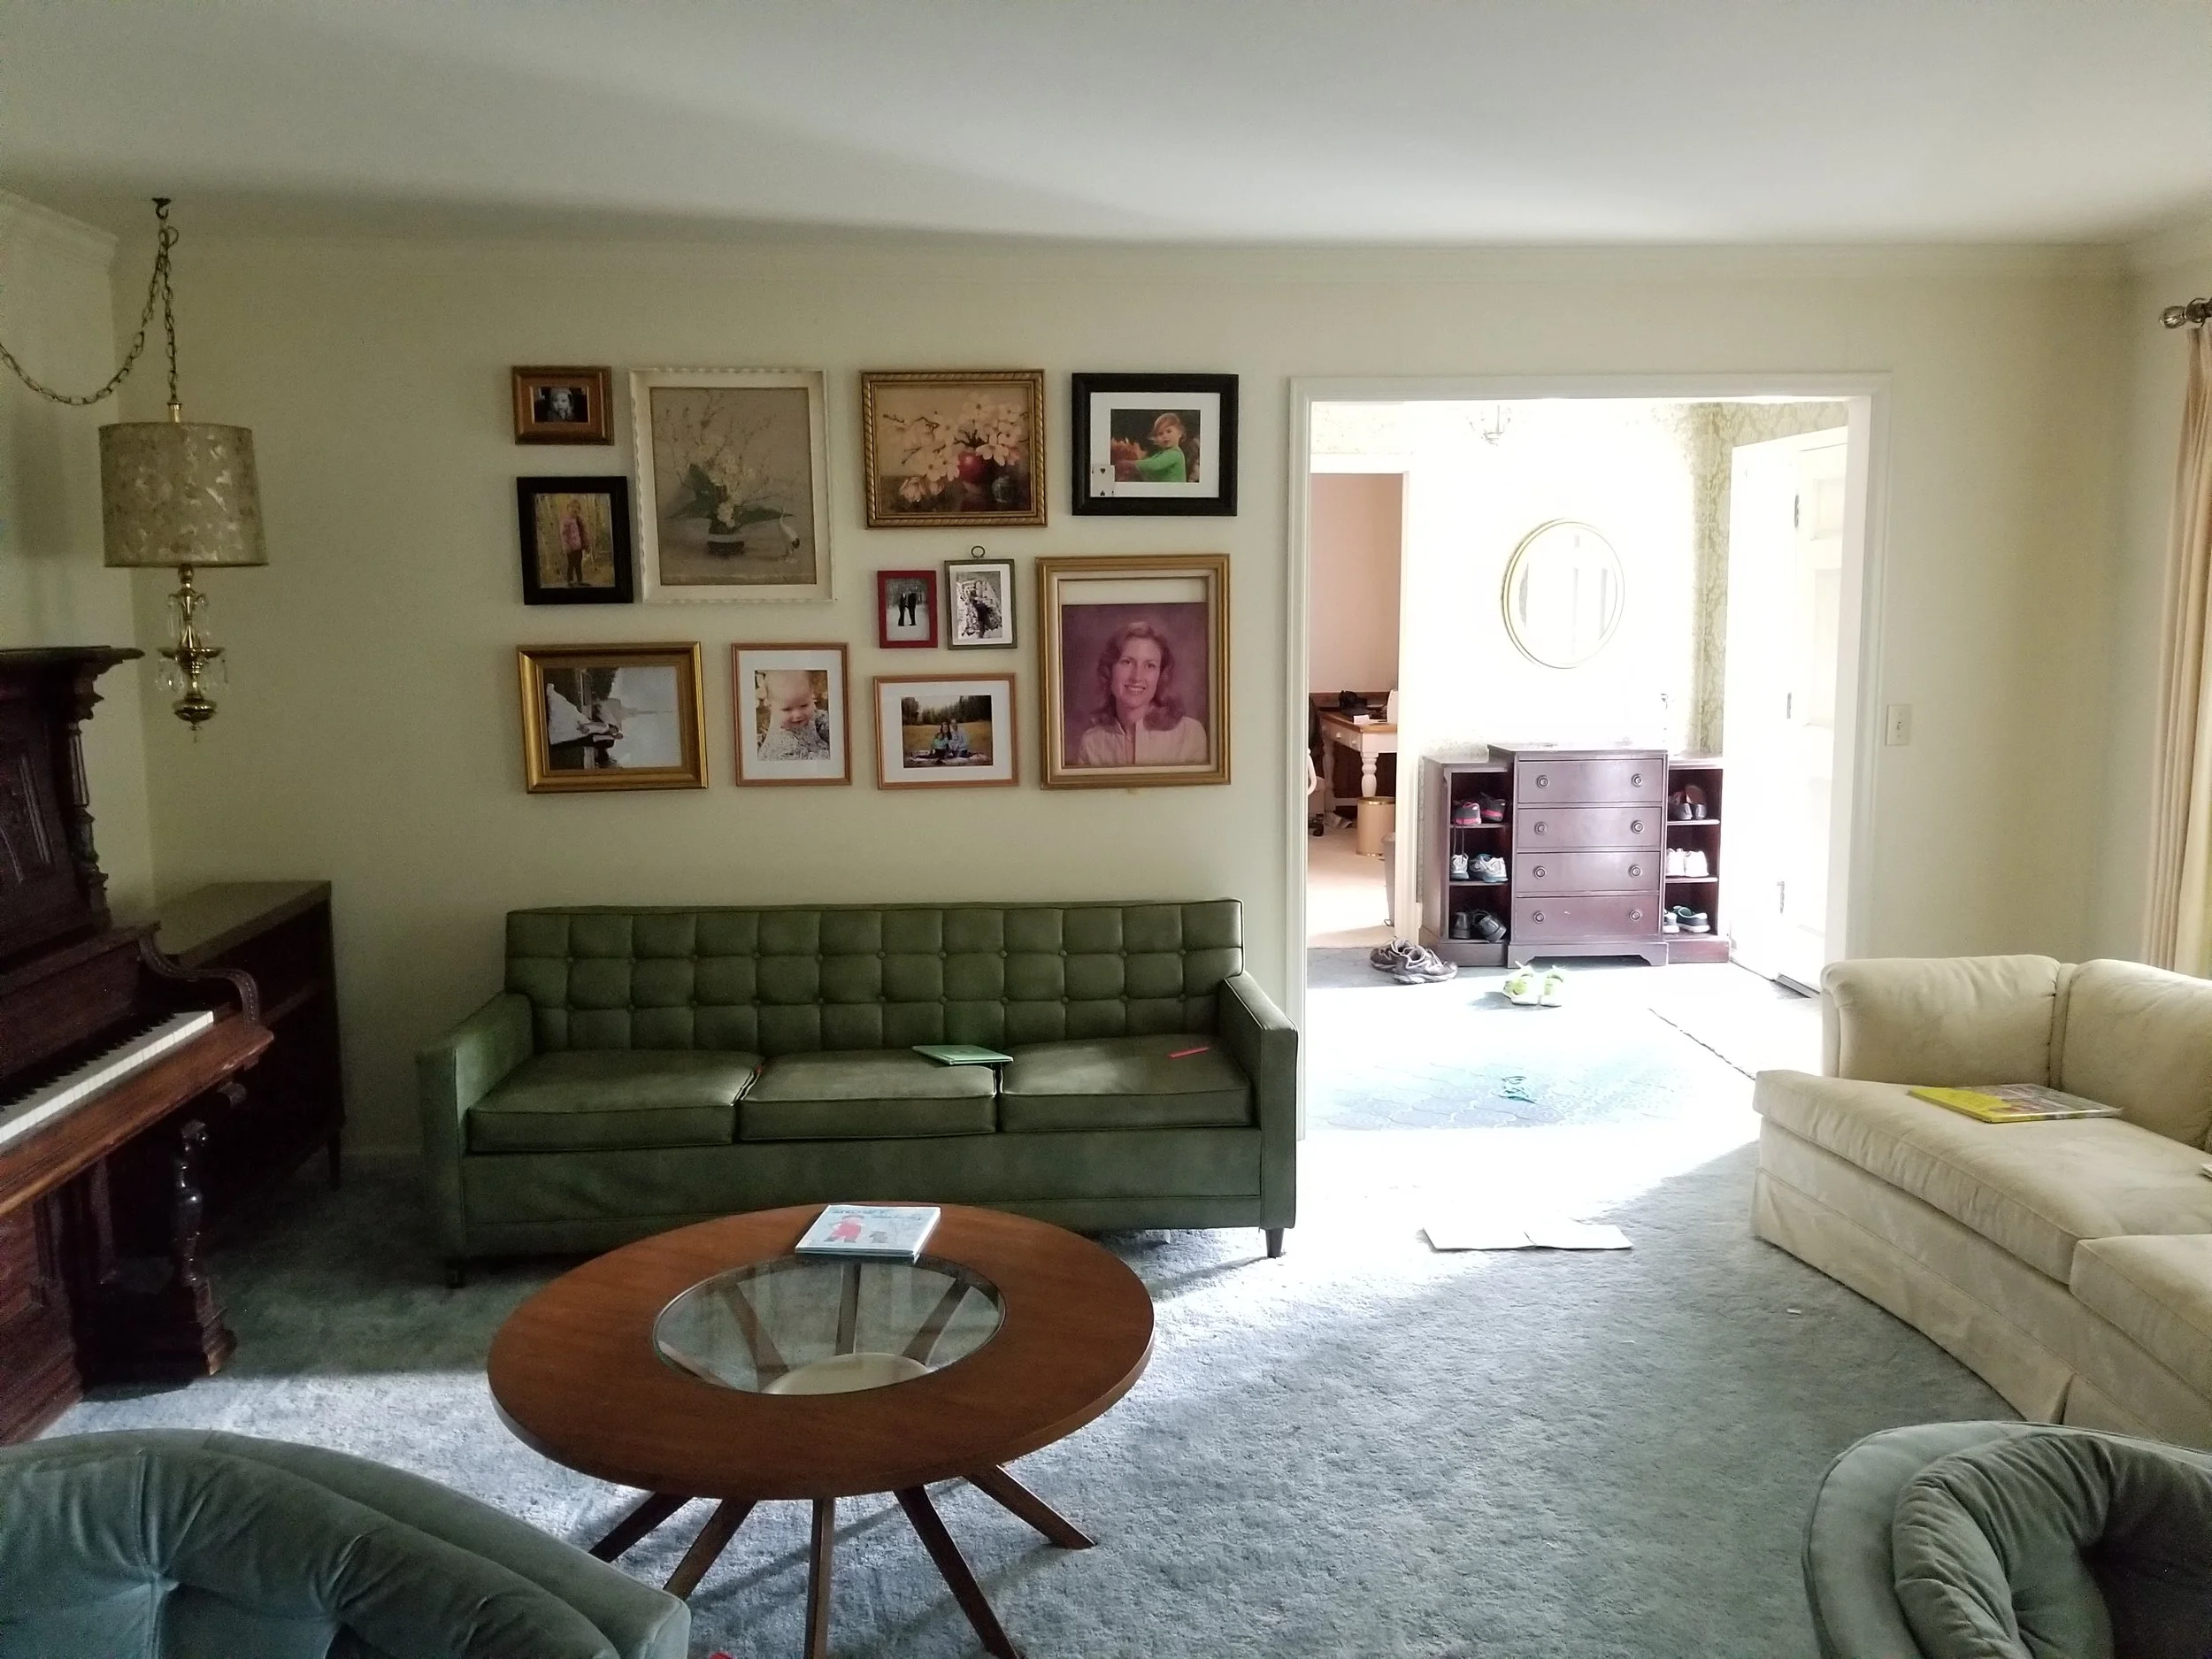
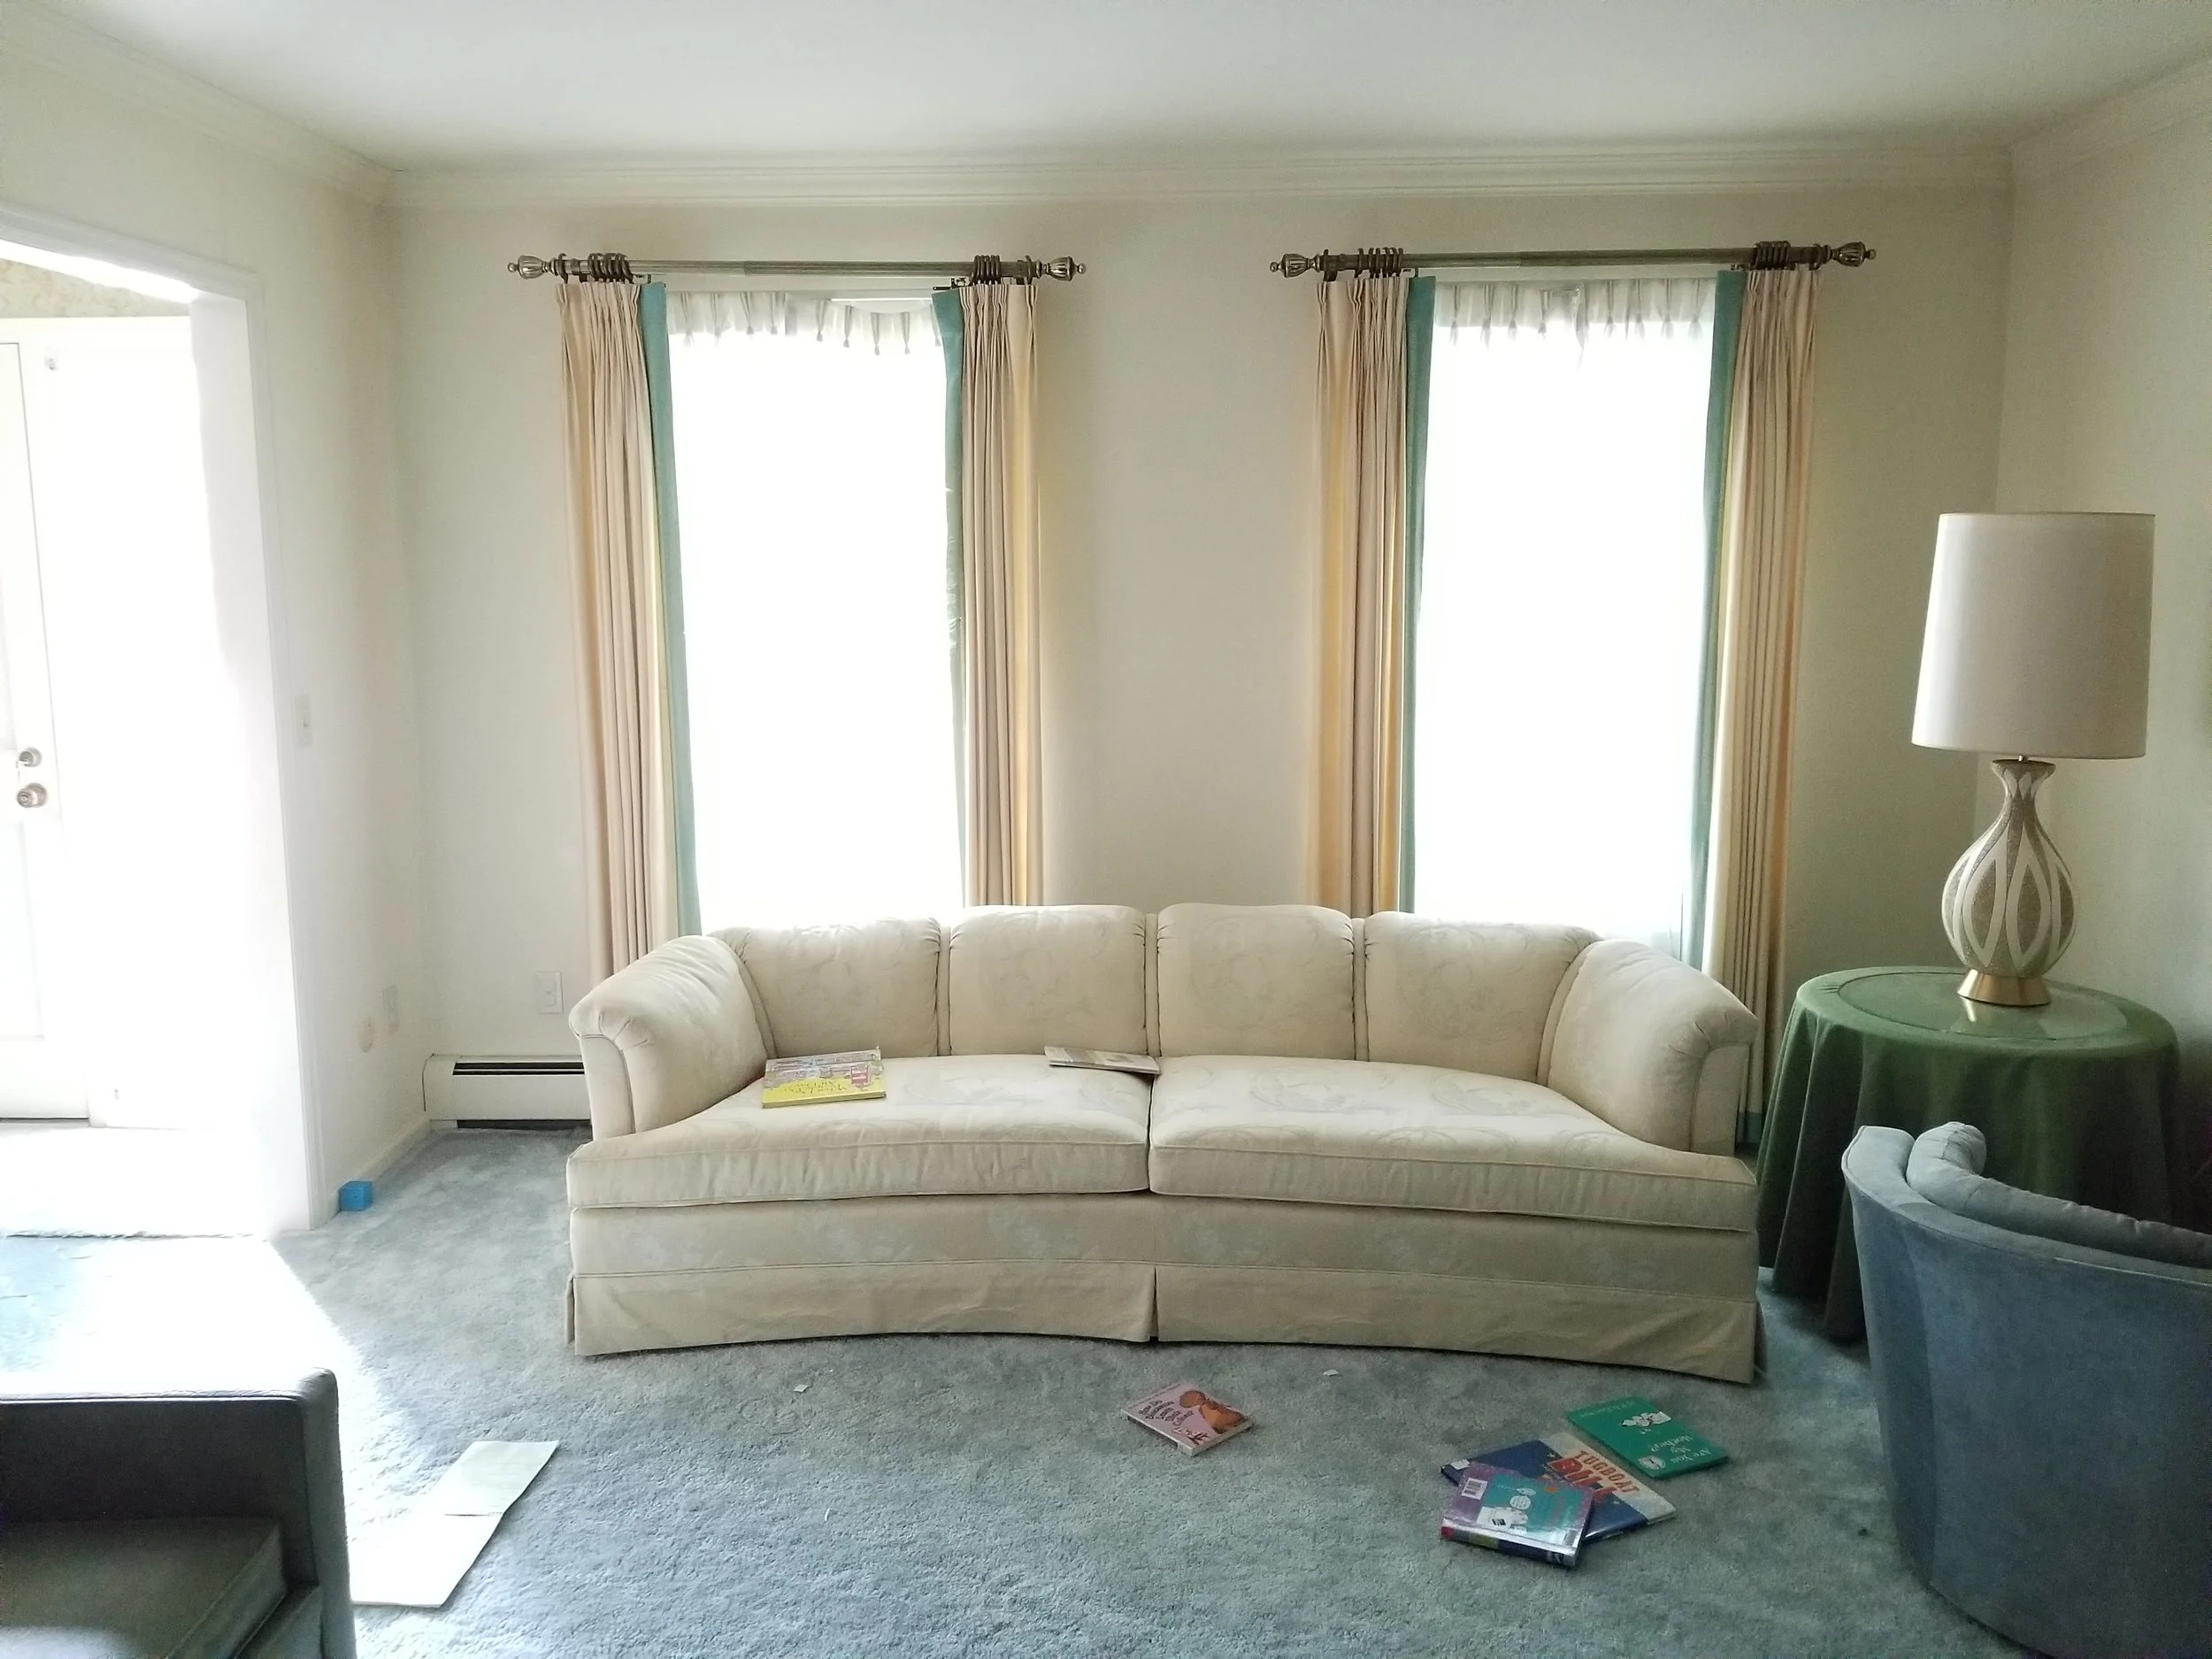
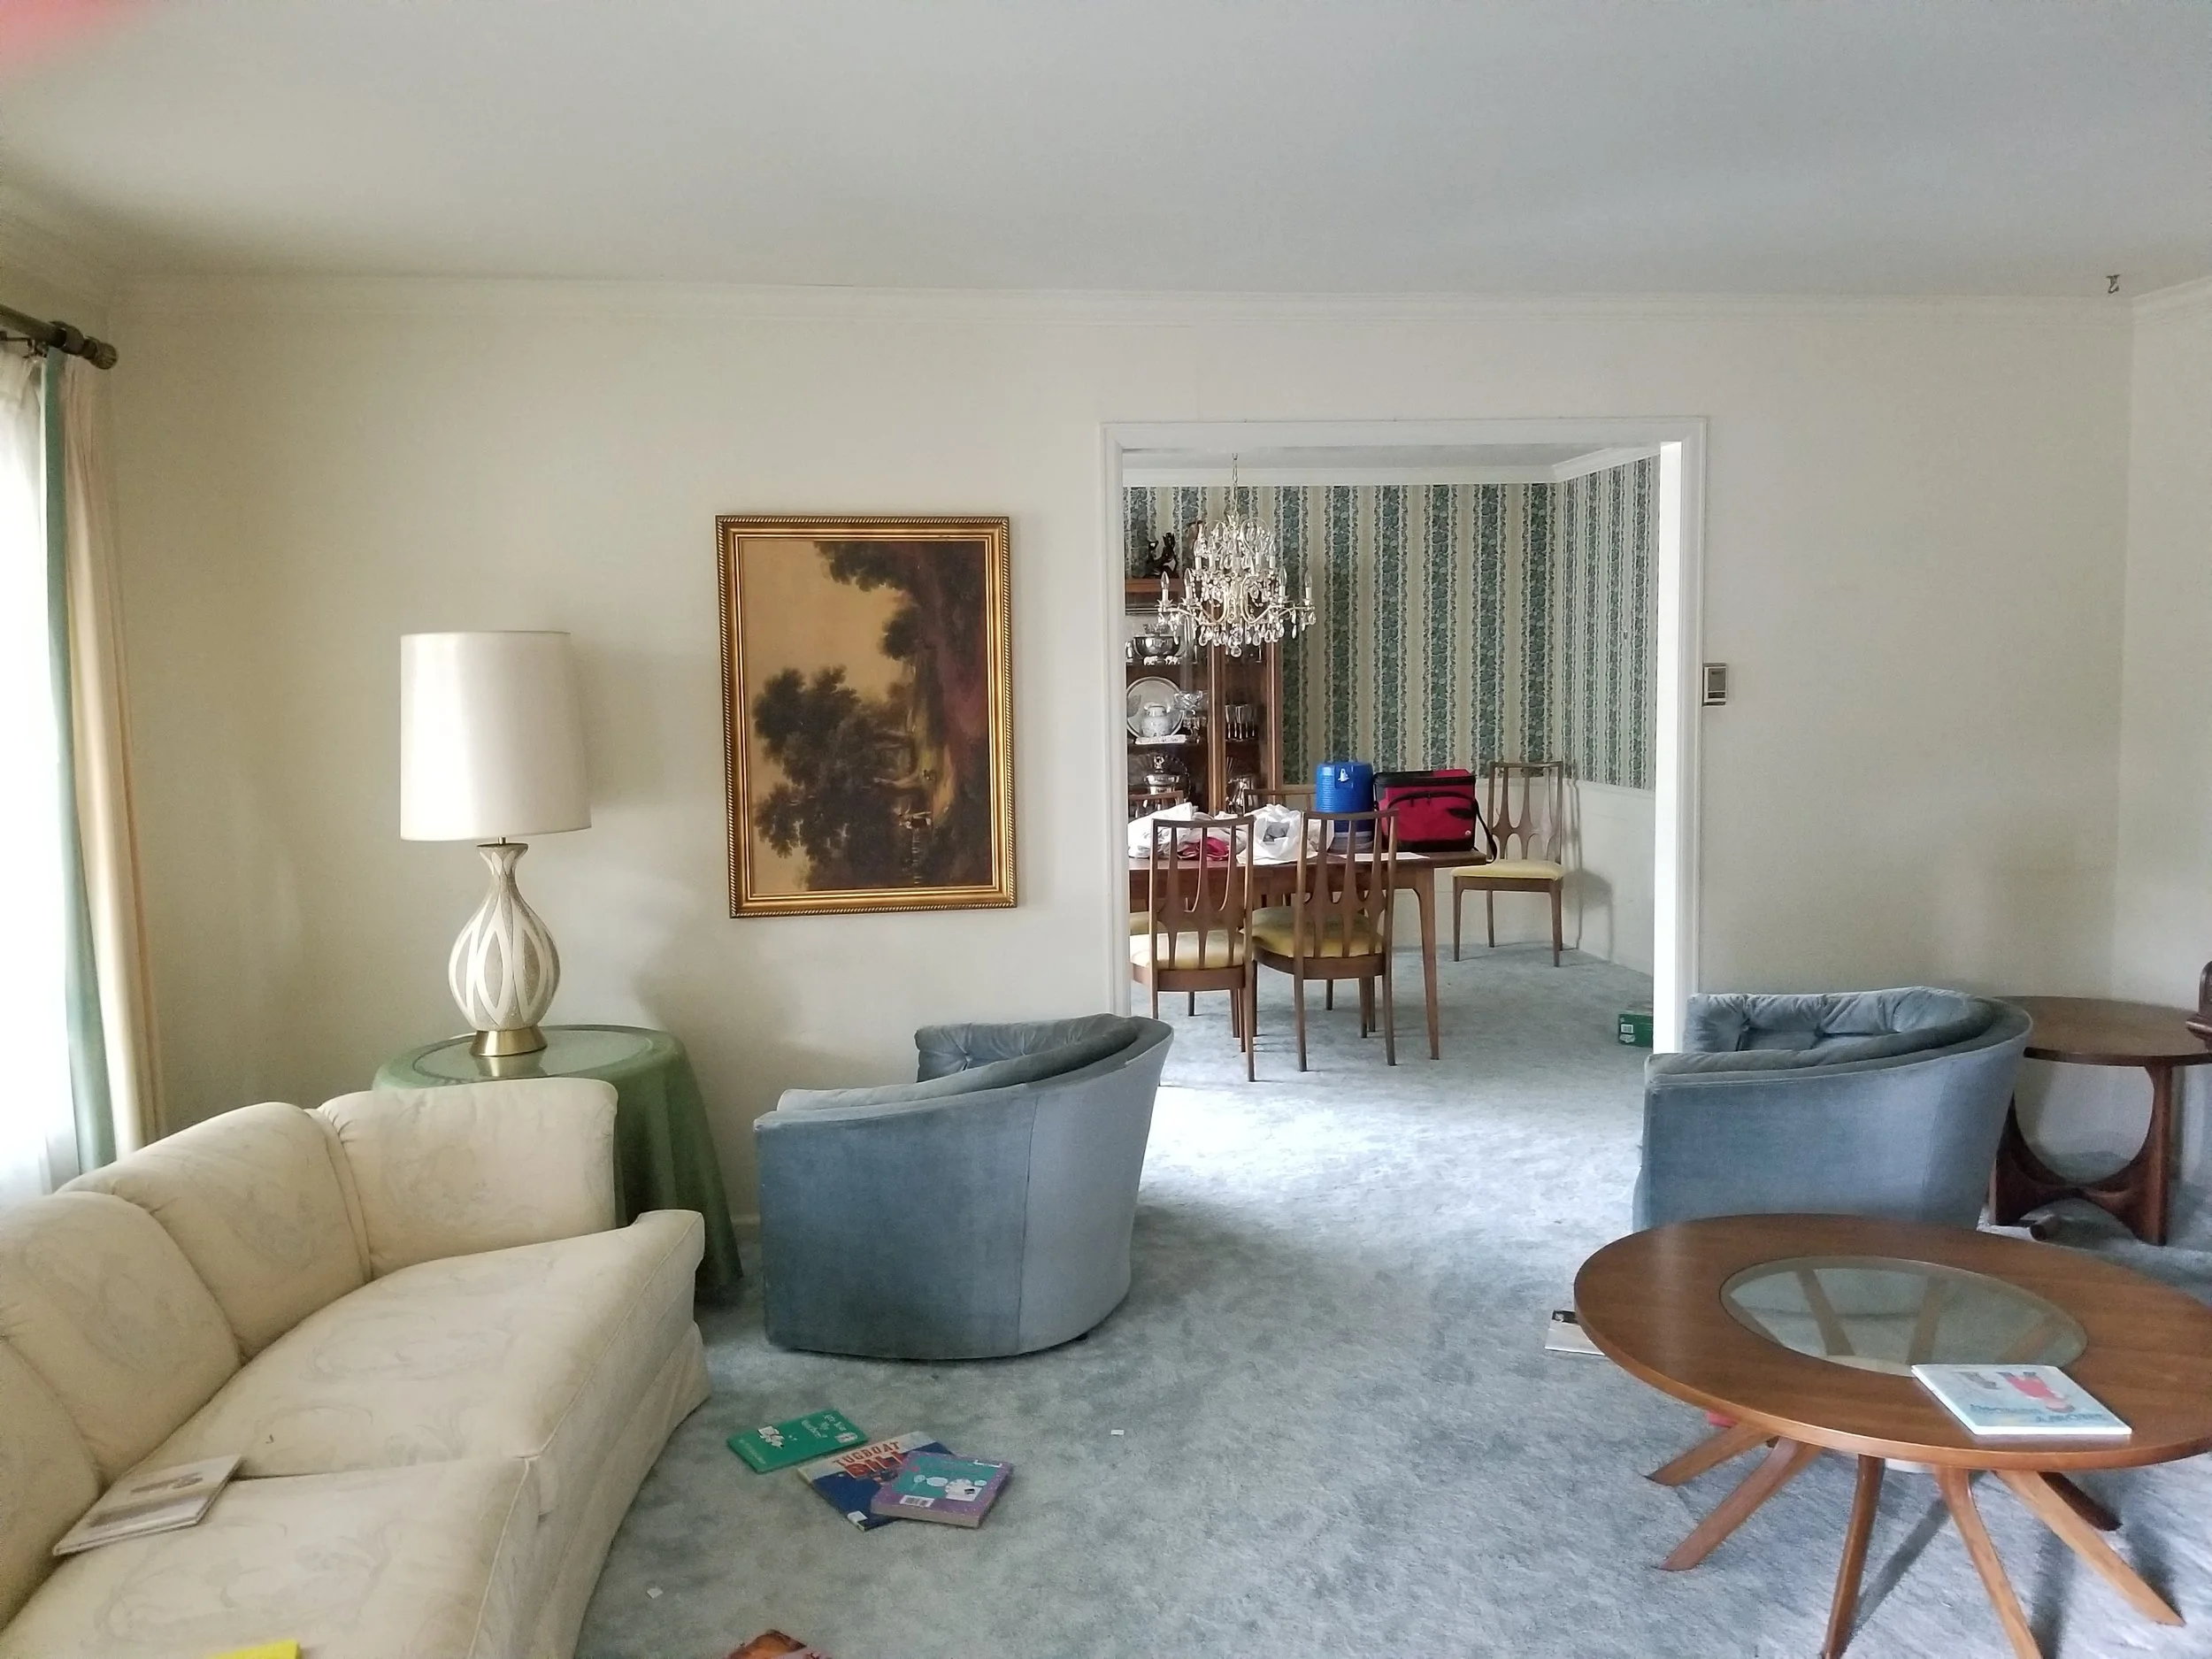
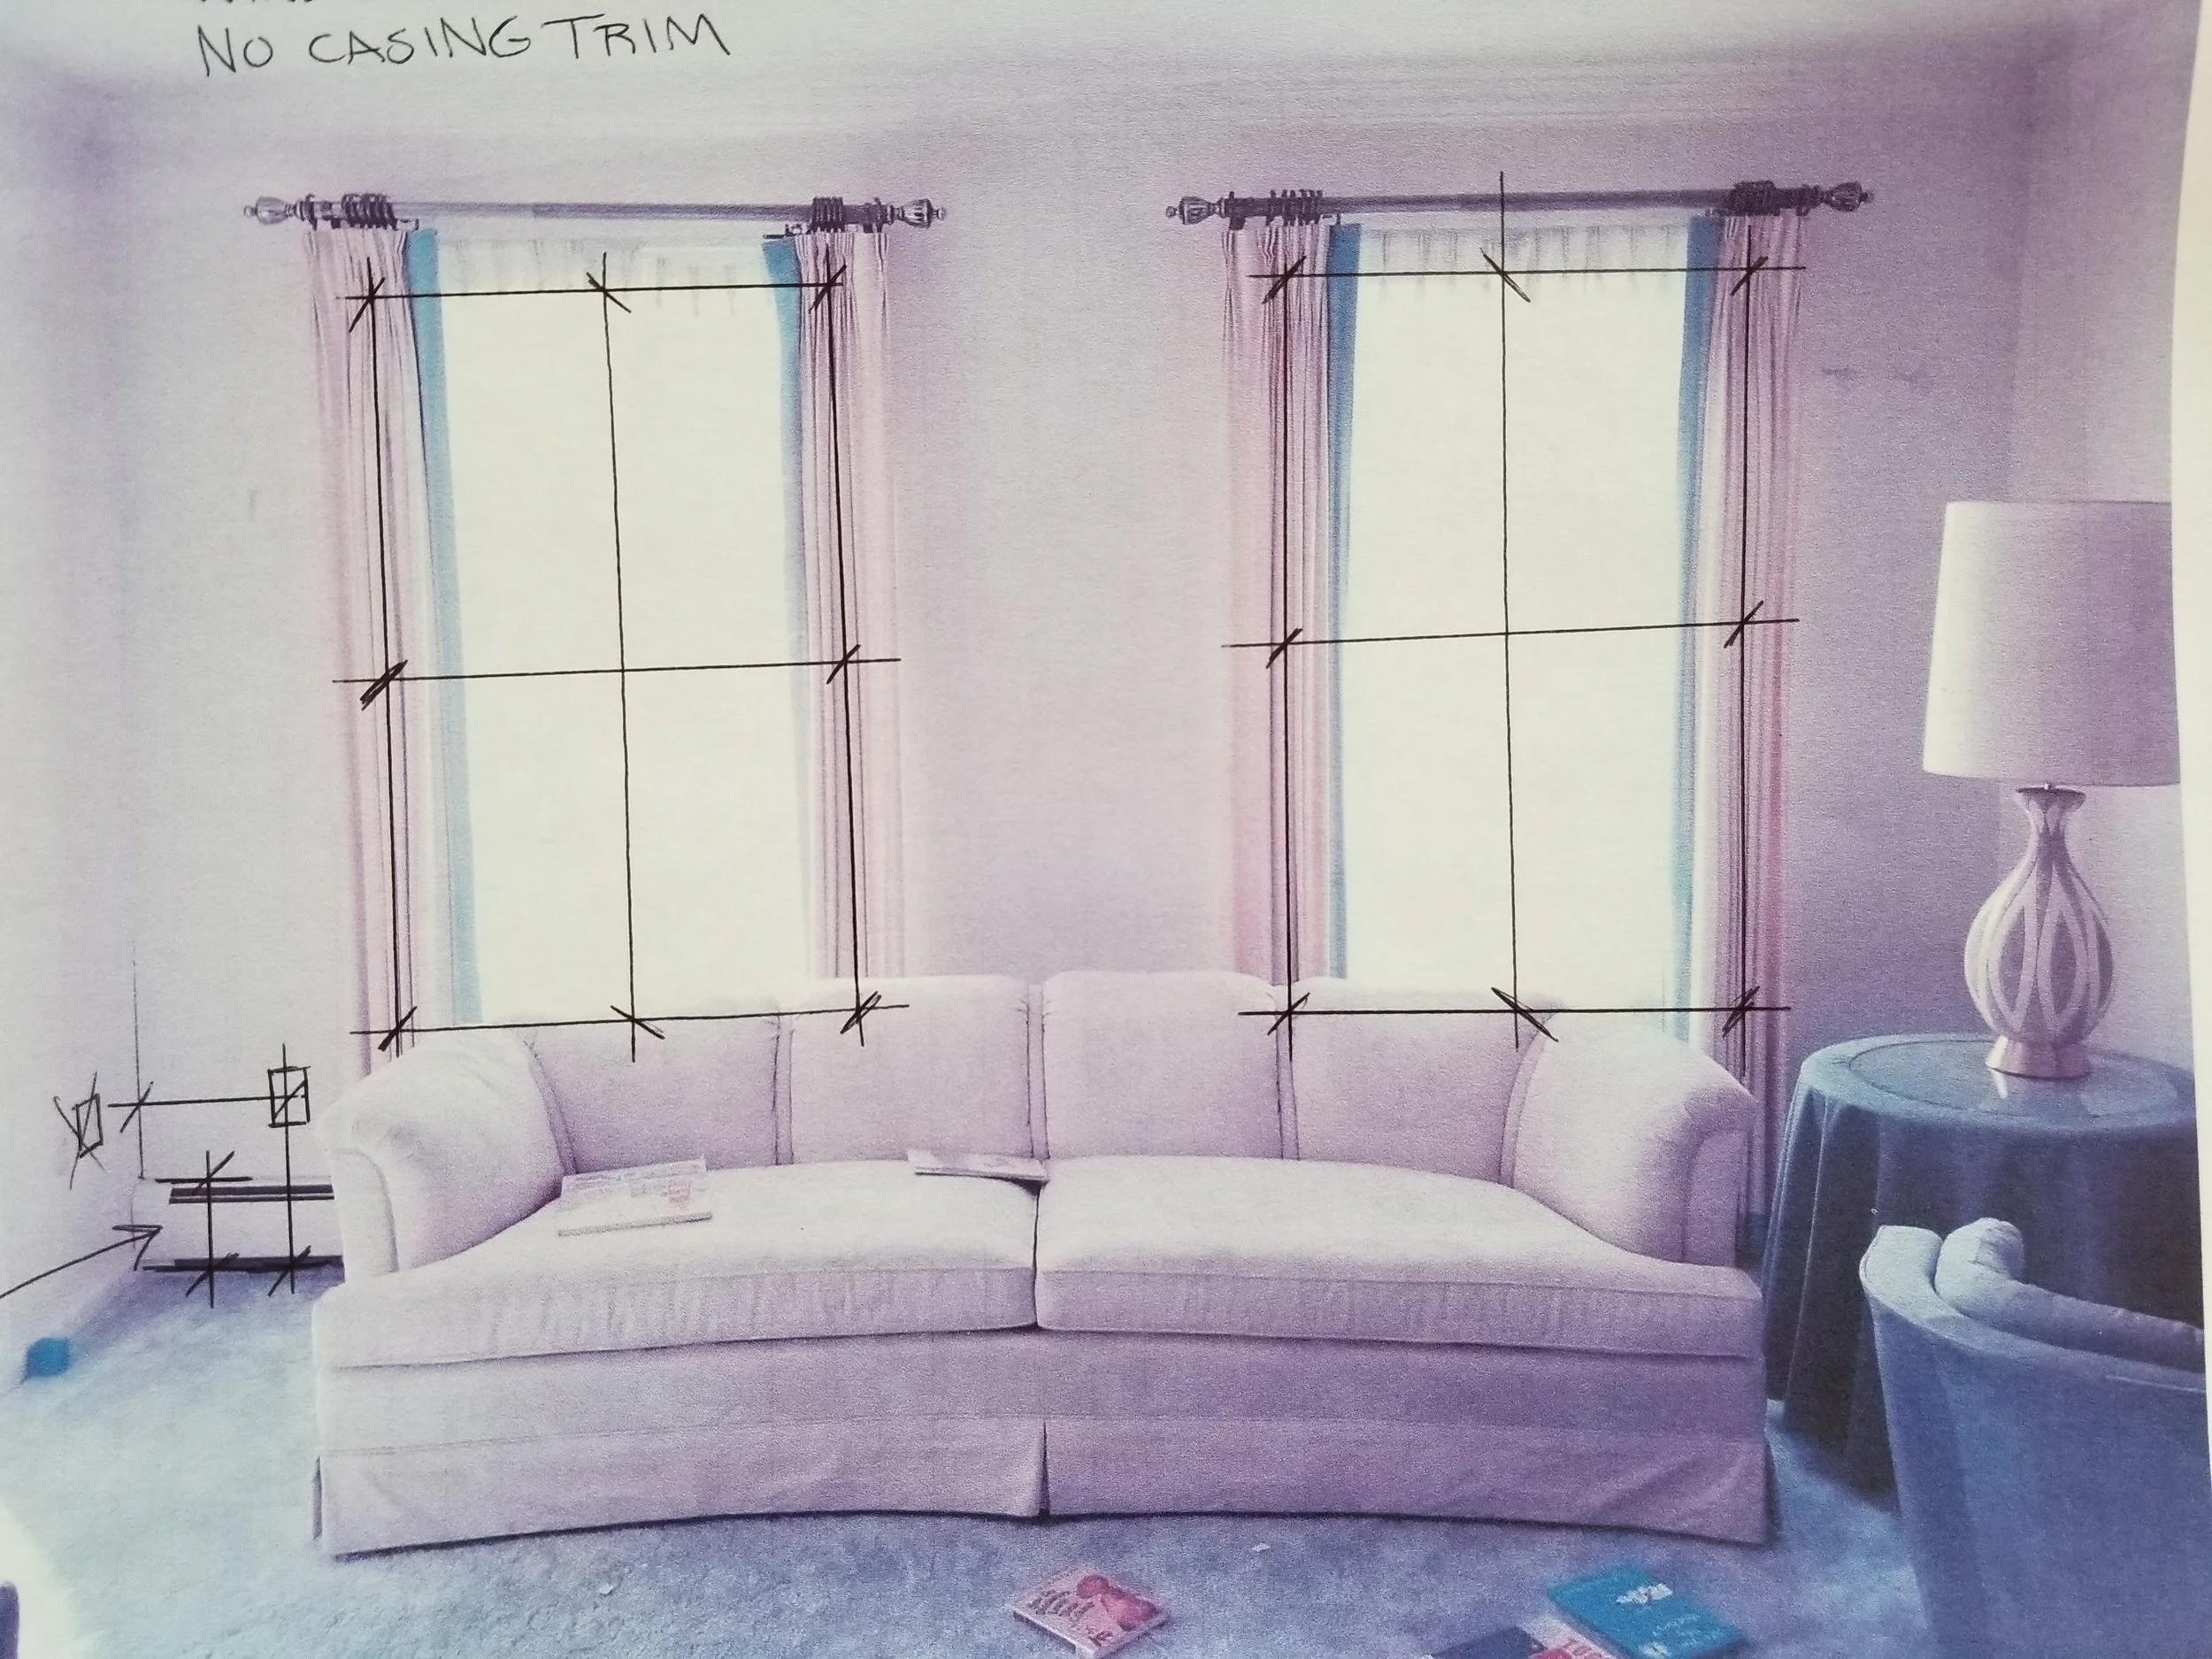
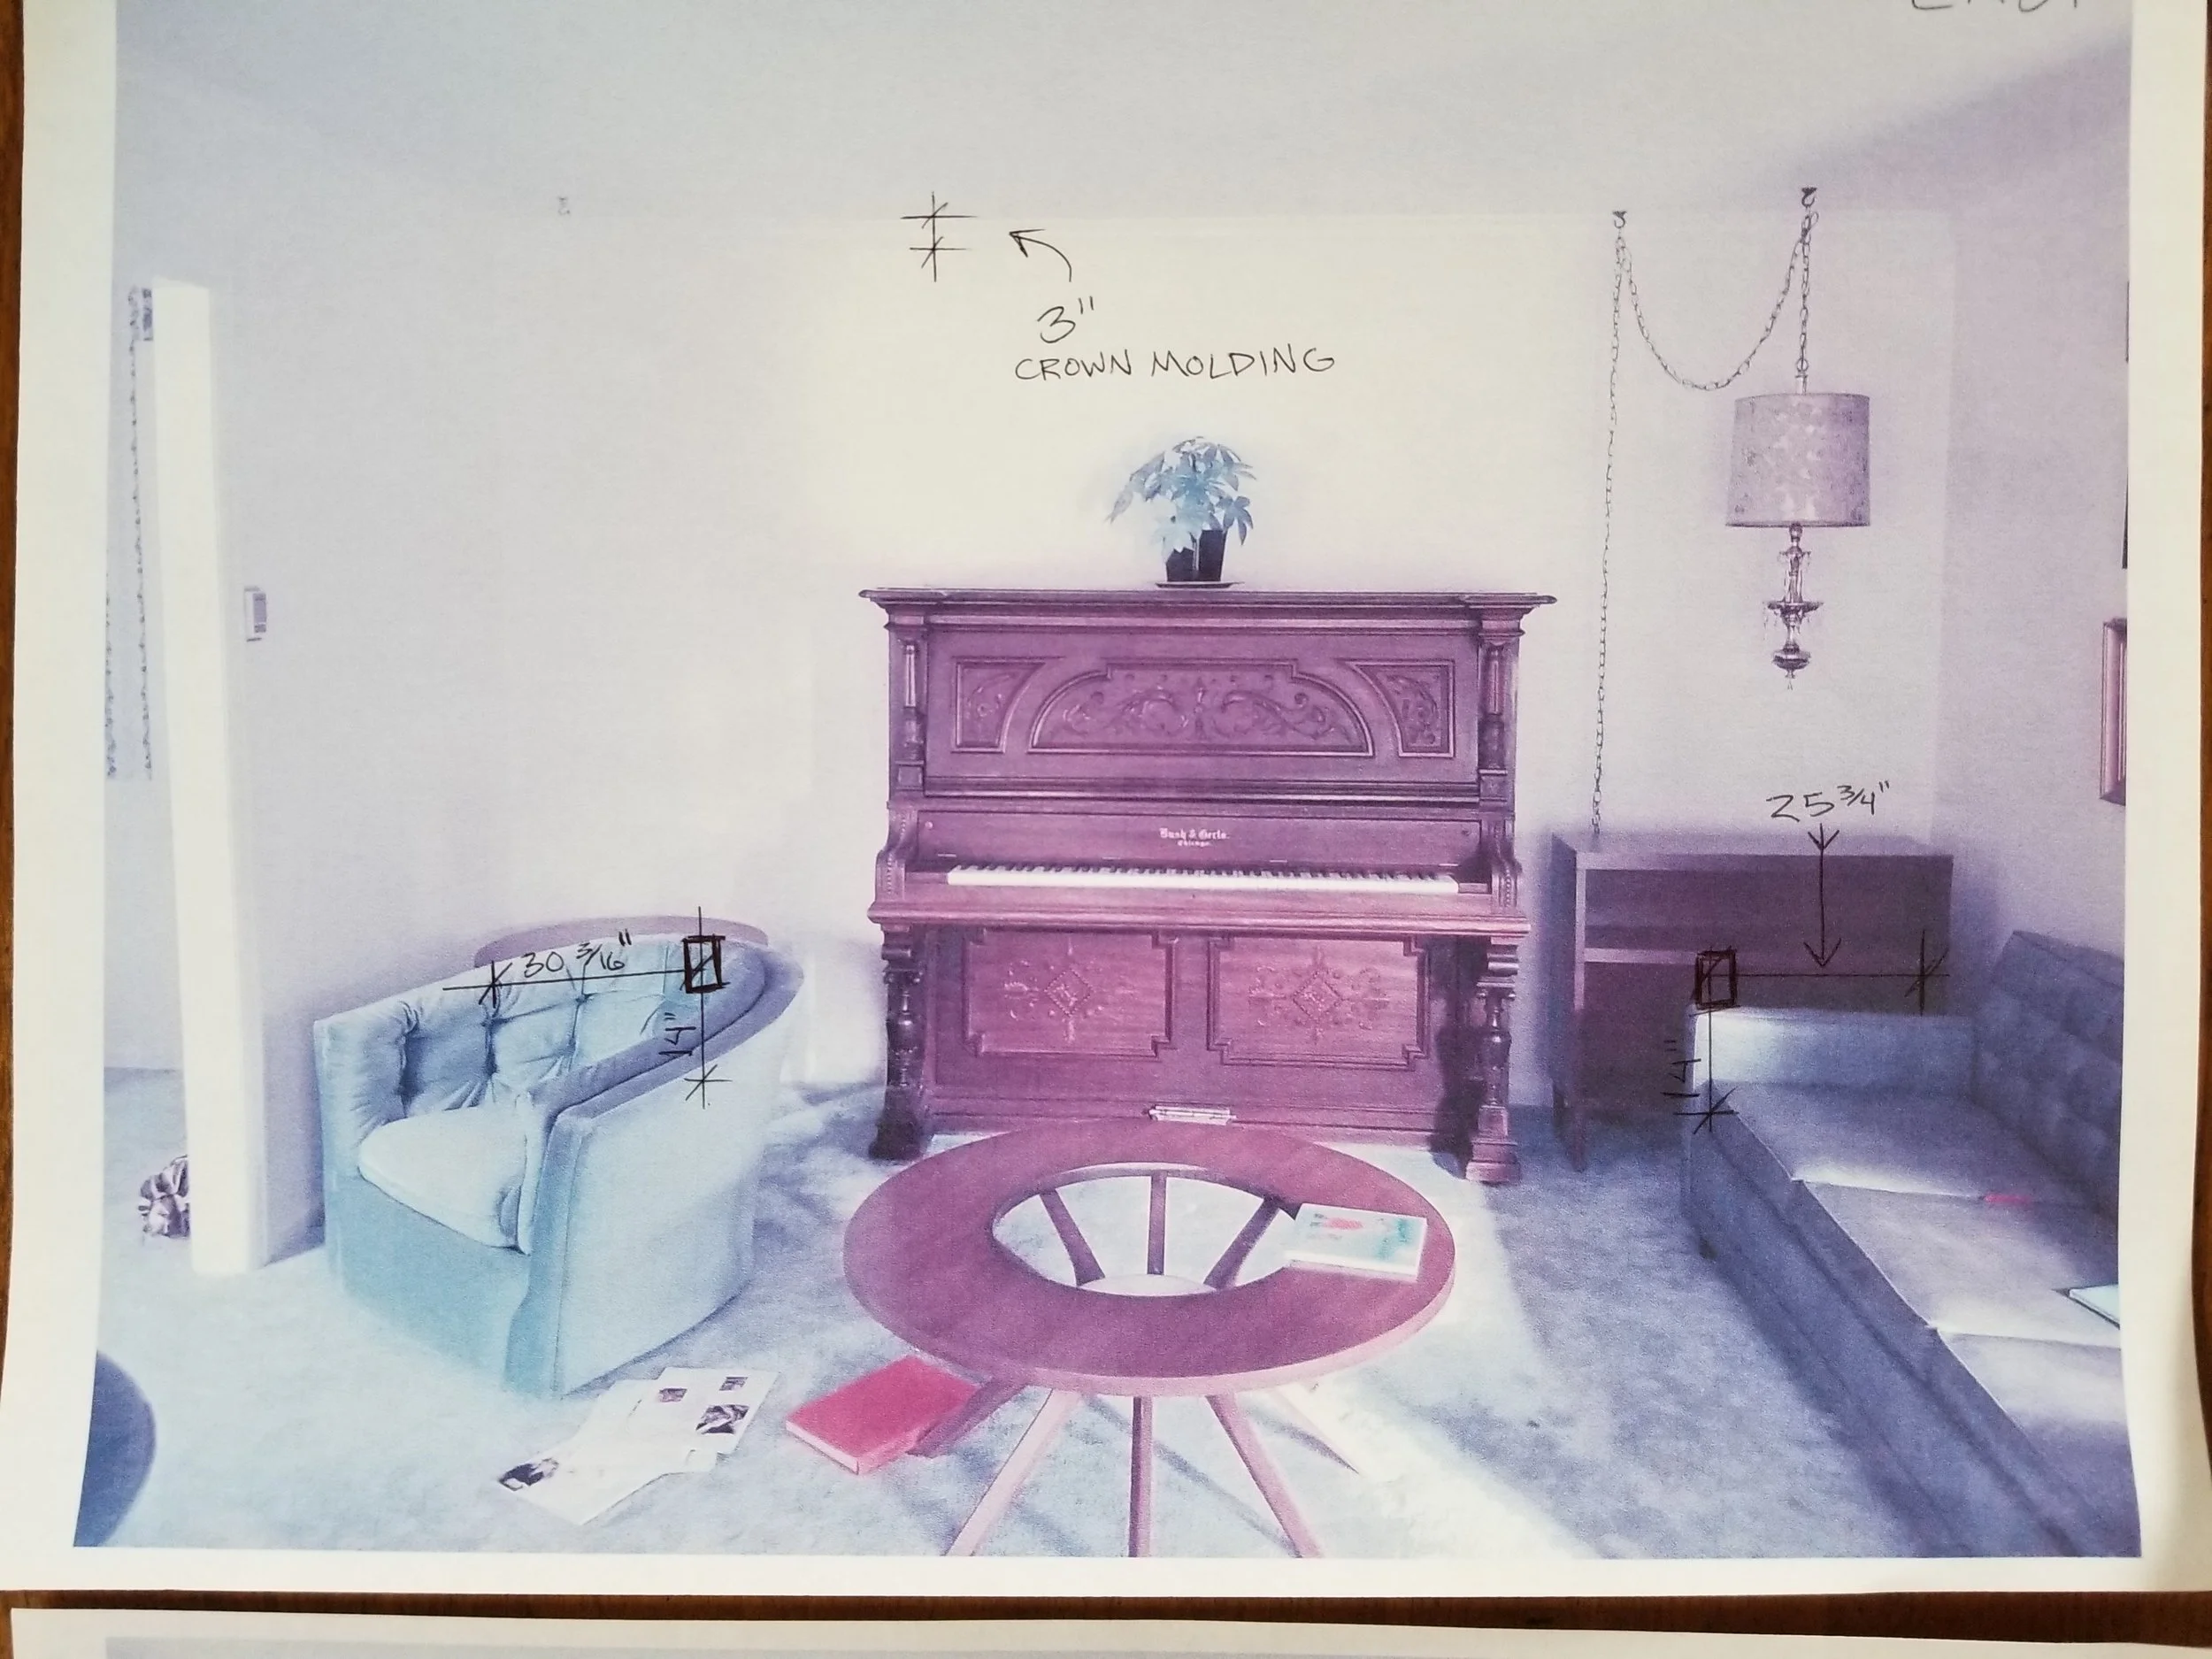
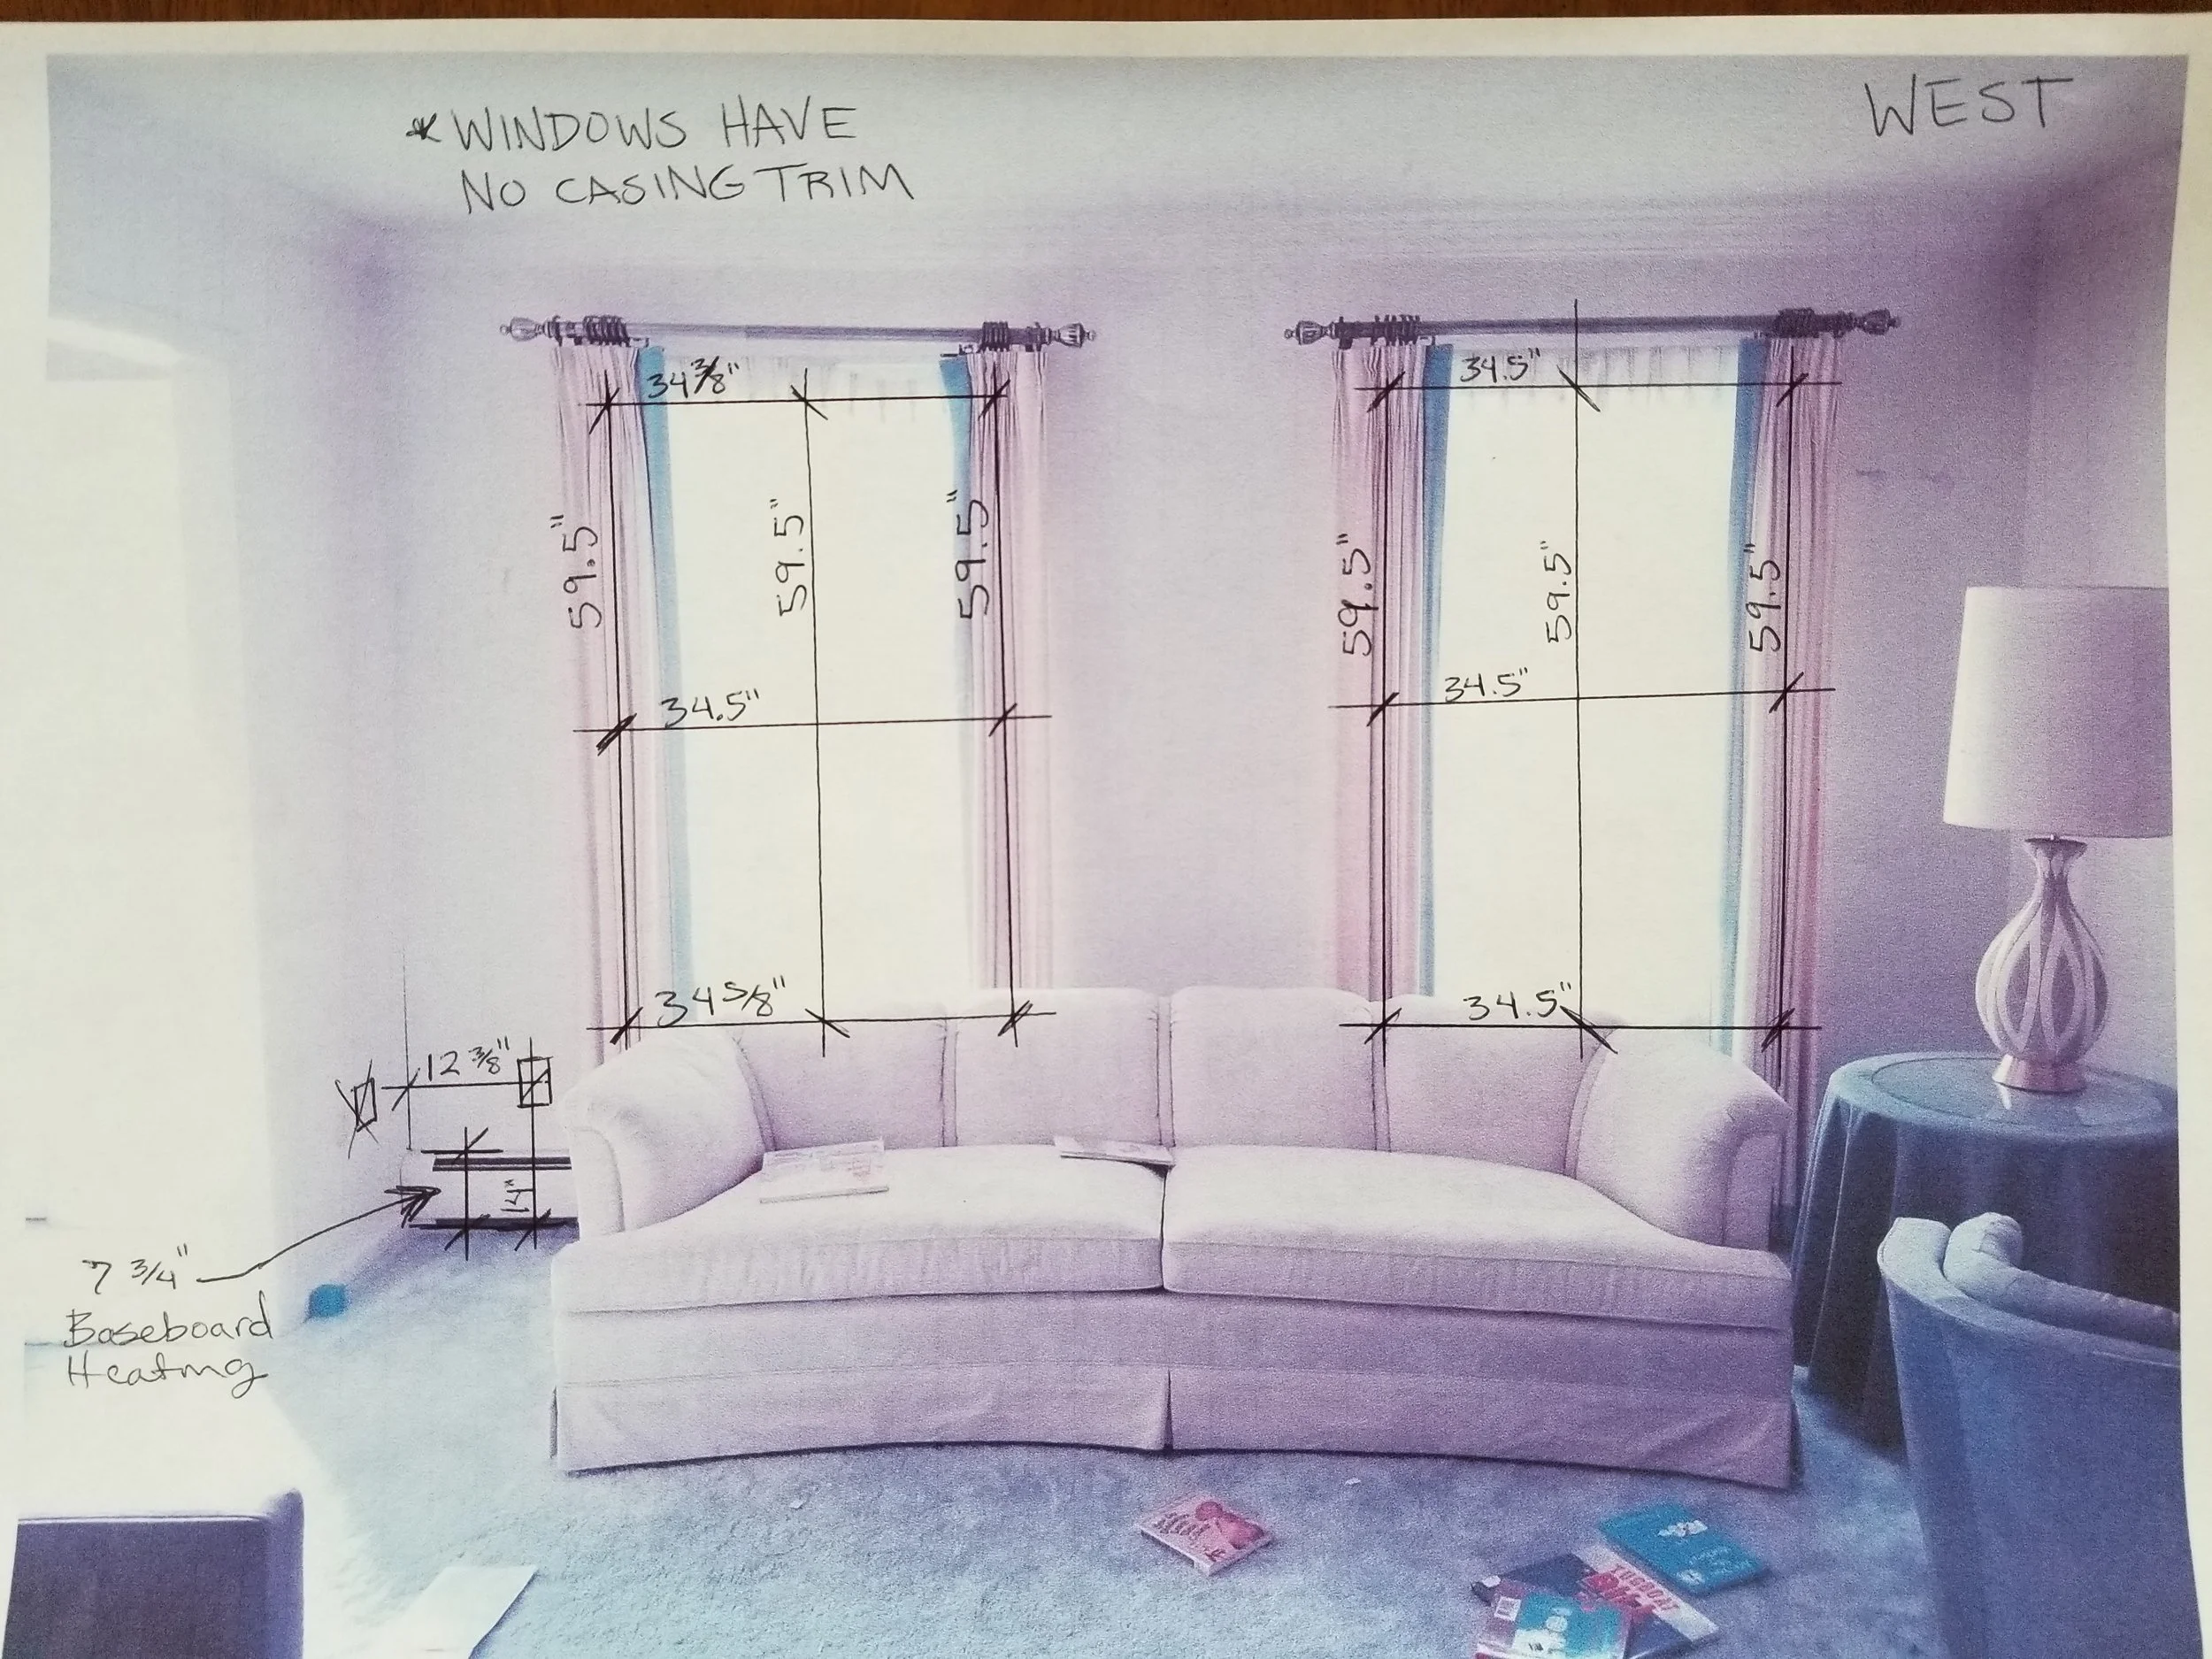
Take a well illuminated picture of each wall of the space head-on without clipping off any edges of the wall if possible. Do this during the day and use your brightness adjuster on your phone to create a proper exposure. PLEASE, do not take pictures with any lights on. If you have the ability to move the furniture in front of the walls out of the way, it will make the pictures much clearer, but if you cannot please do not worry—we will just “look” past the stuff to the wall. We call this an ELEVATION and it should look like this:
STEP 2
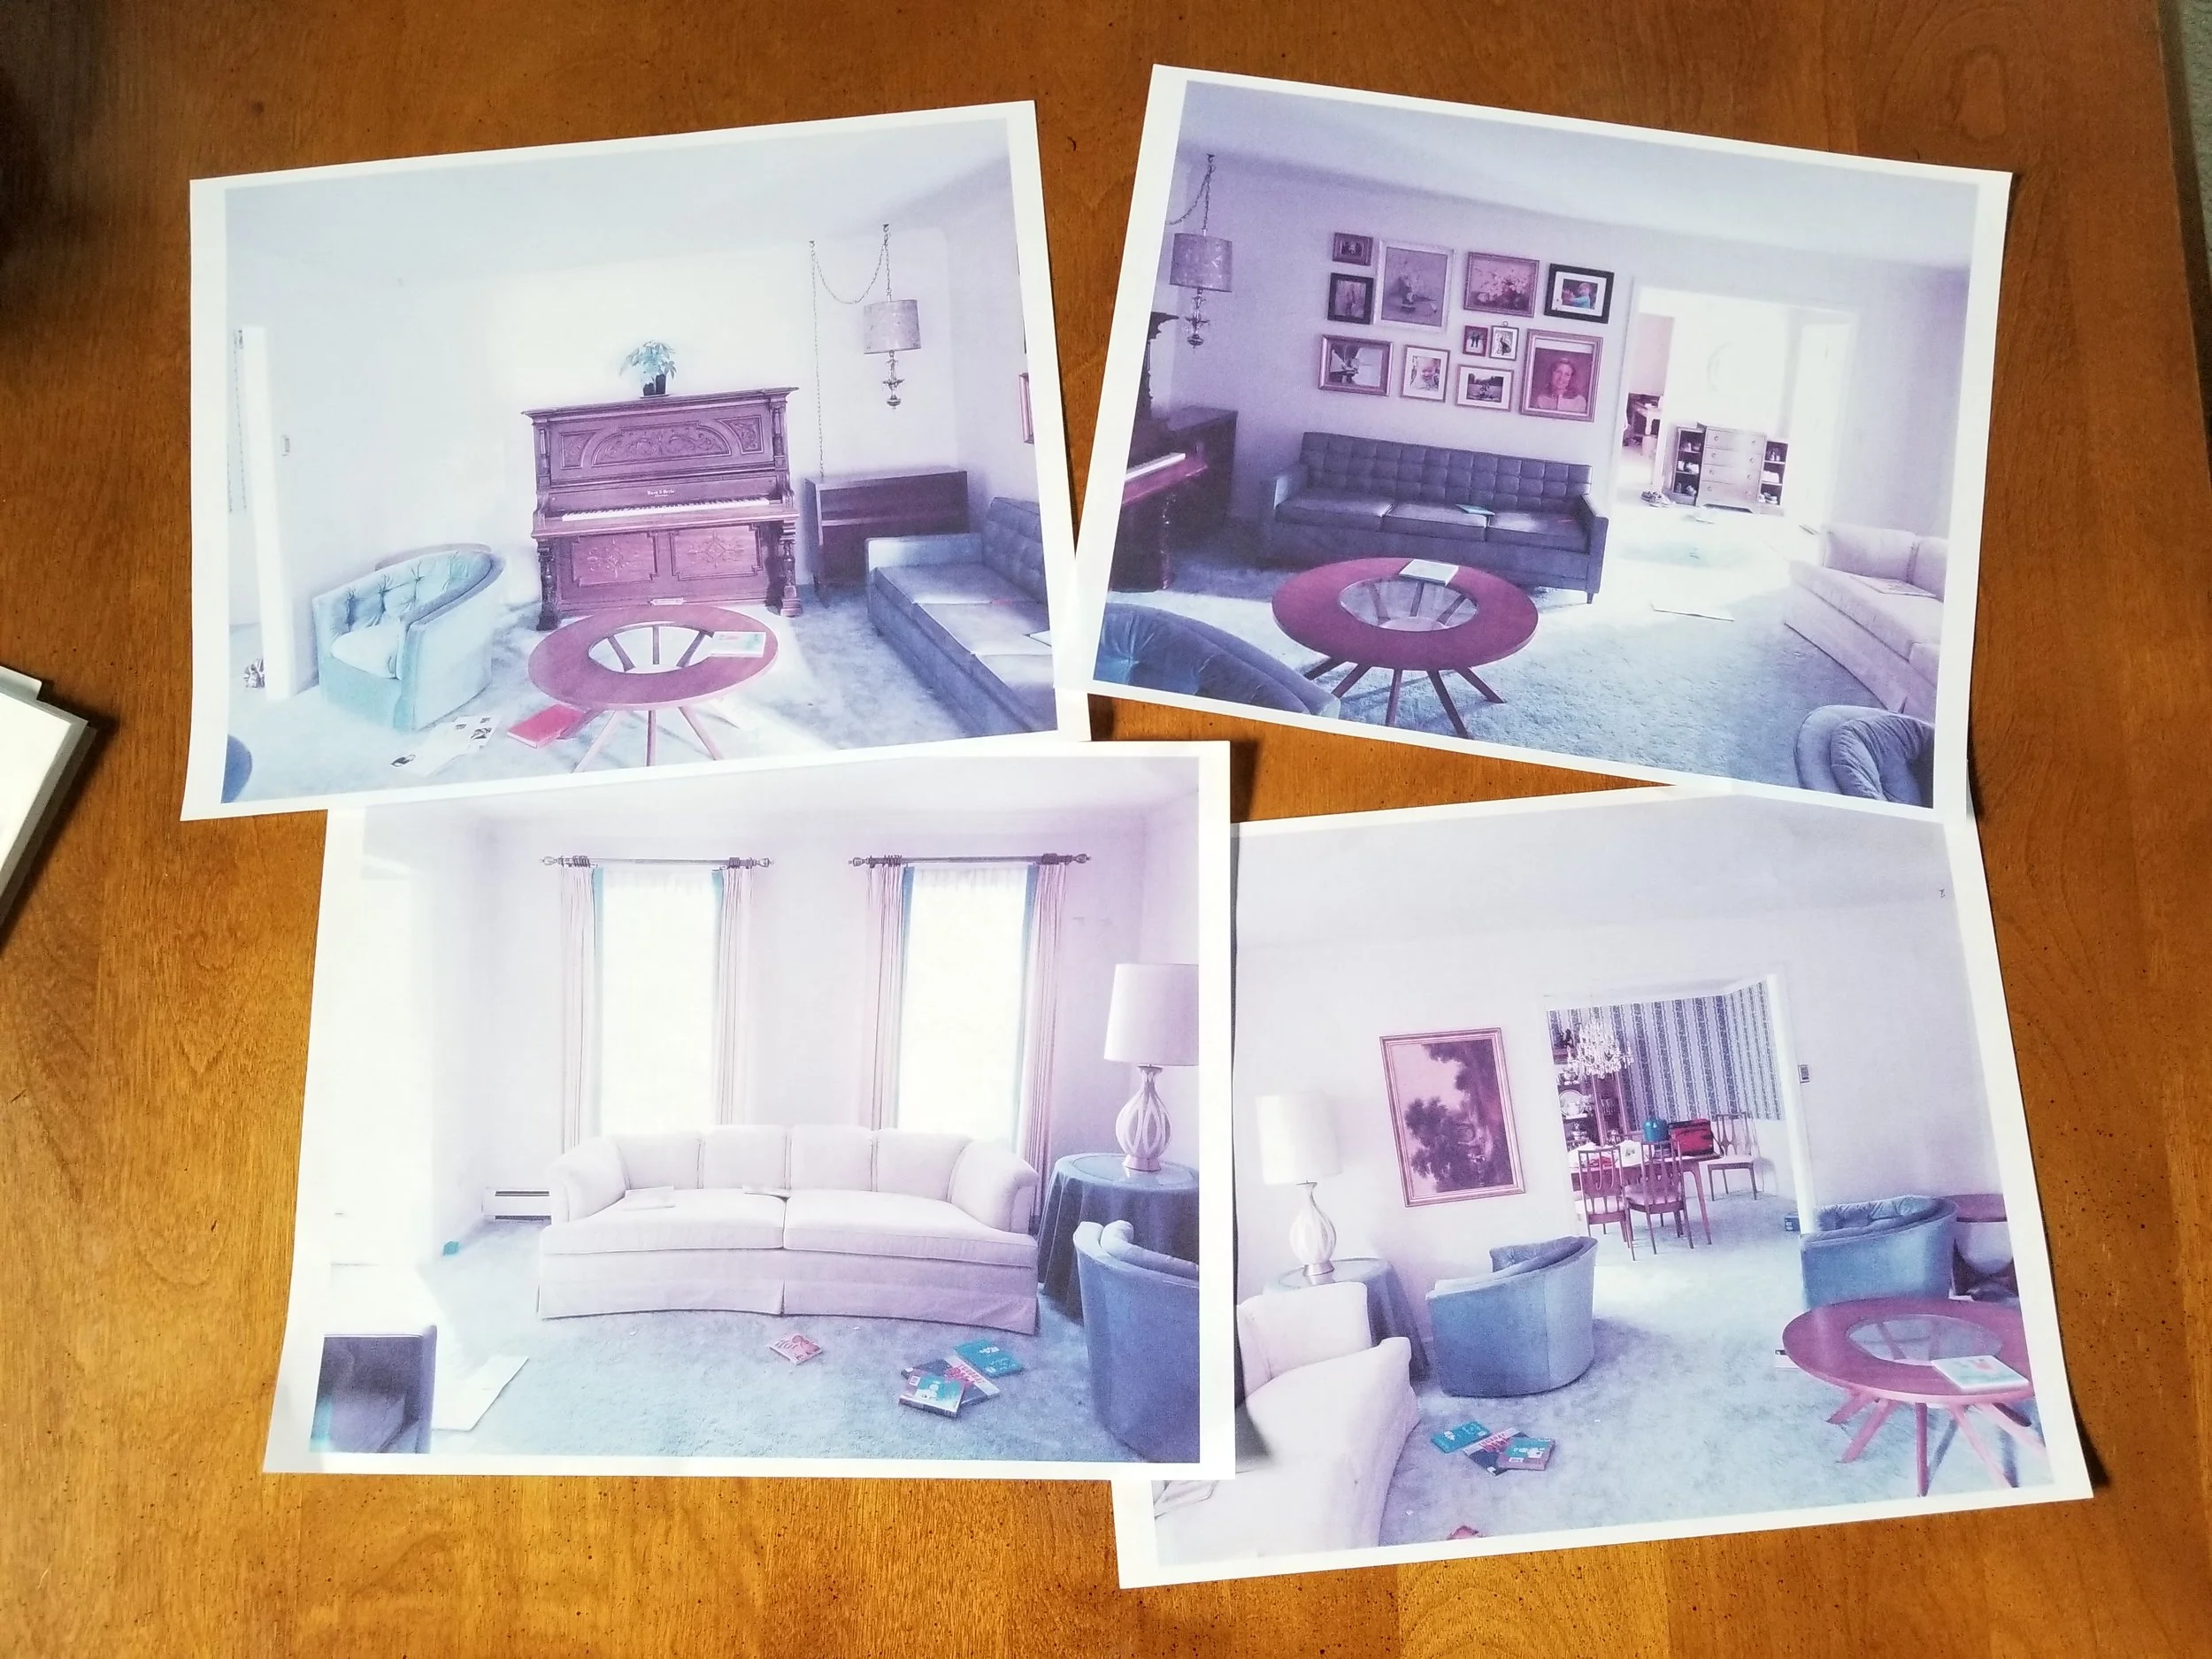
Print off each picture onto its own 8.5x11 paper.
STEP 3
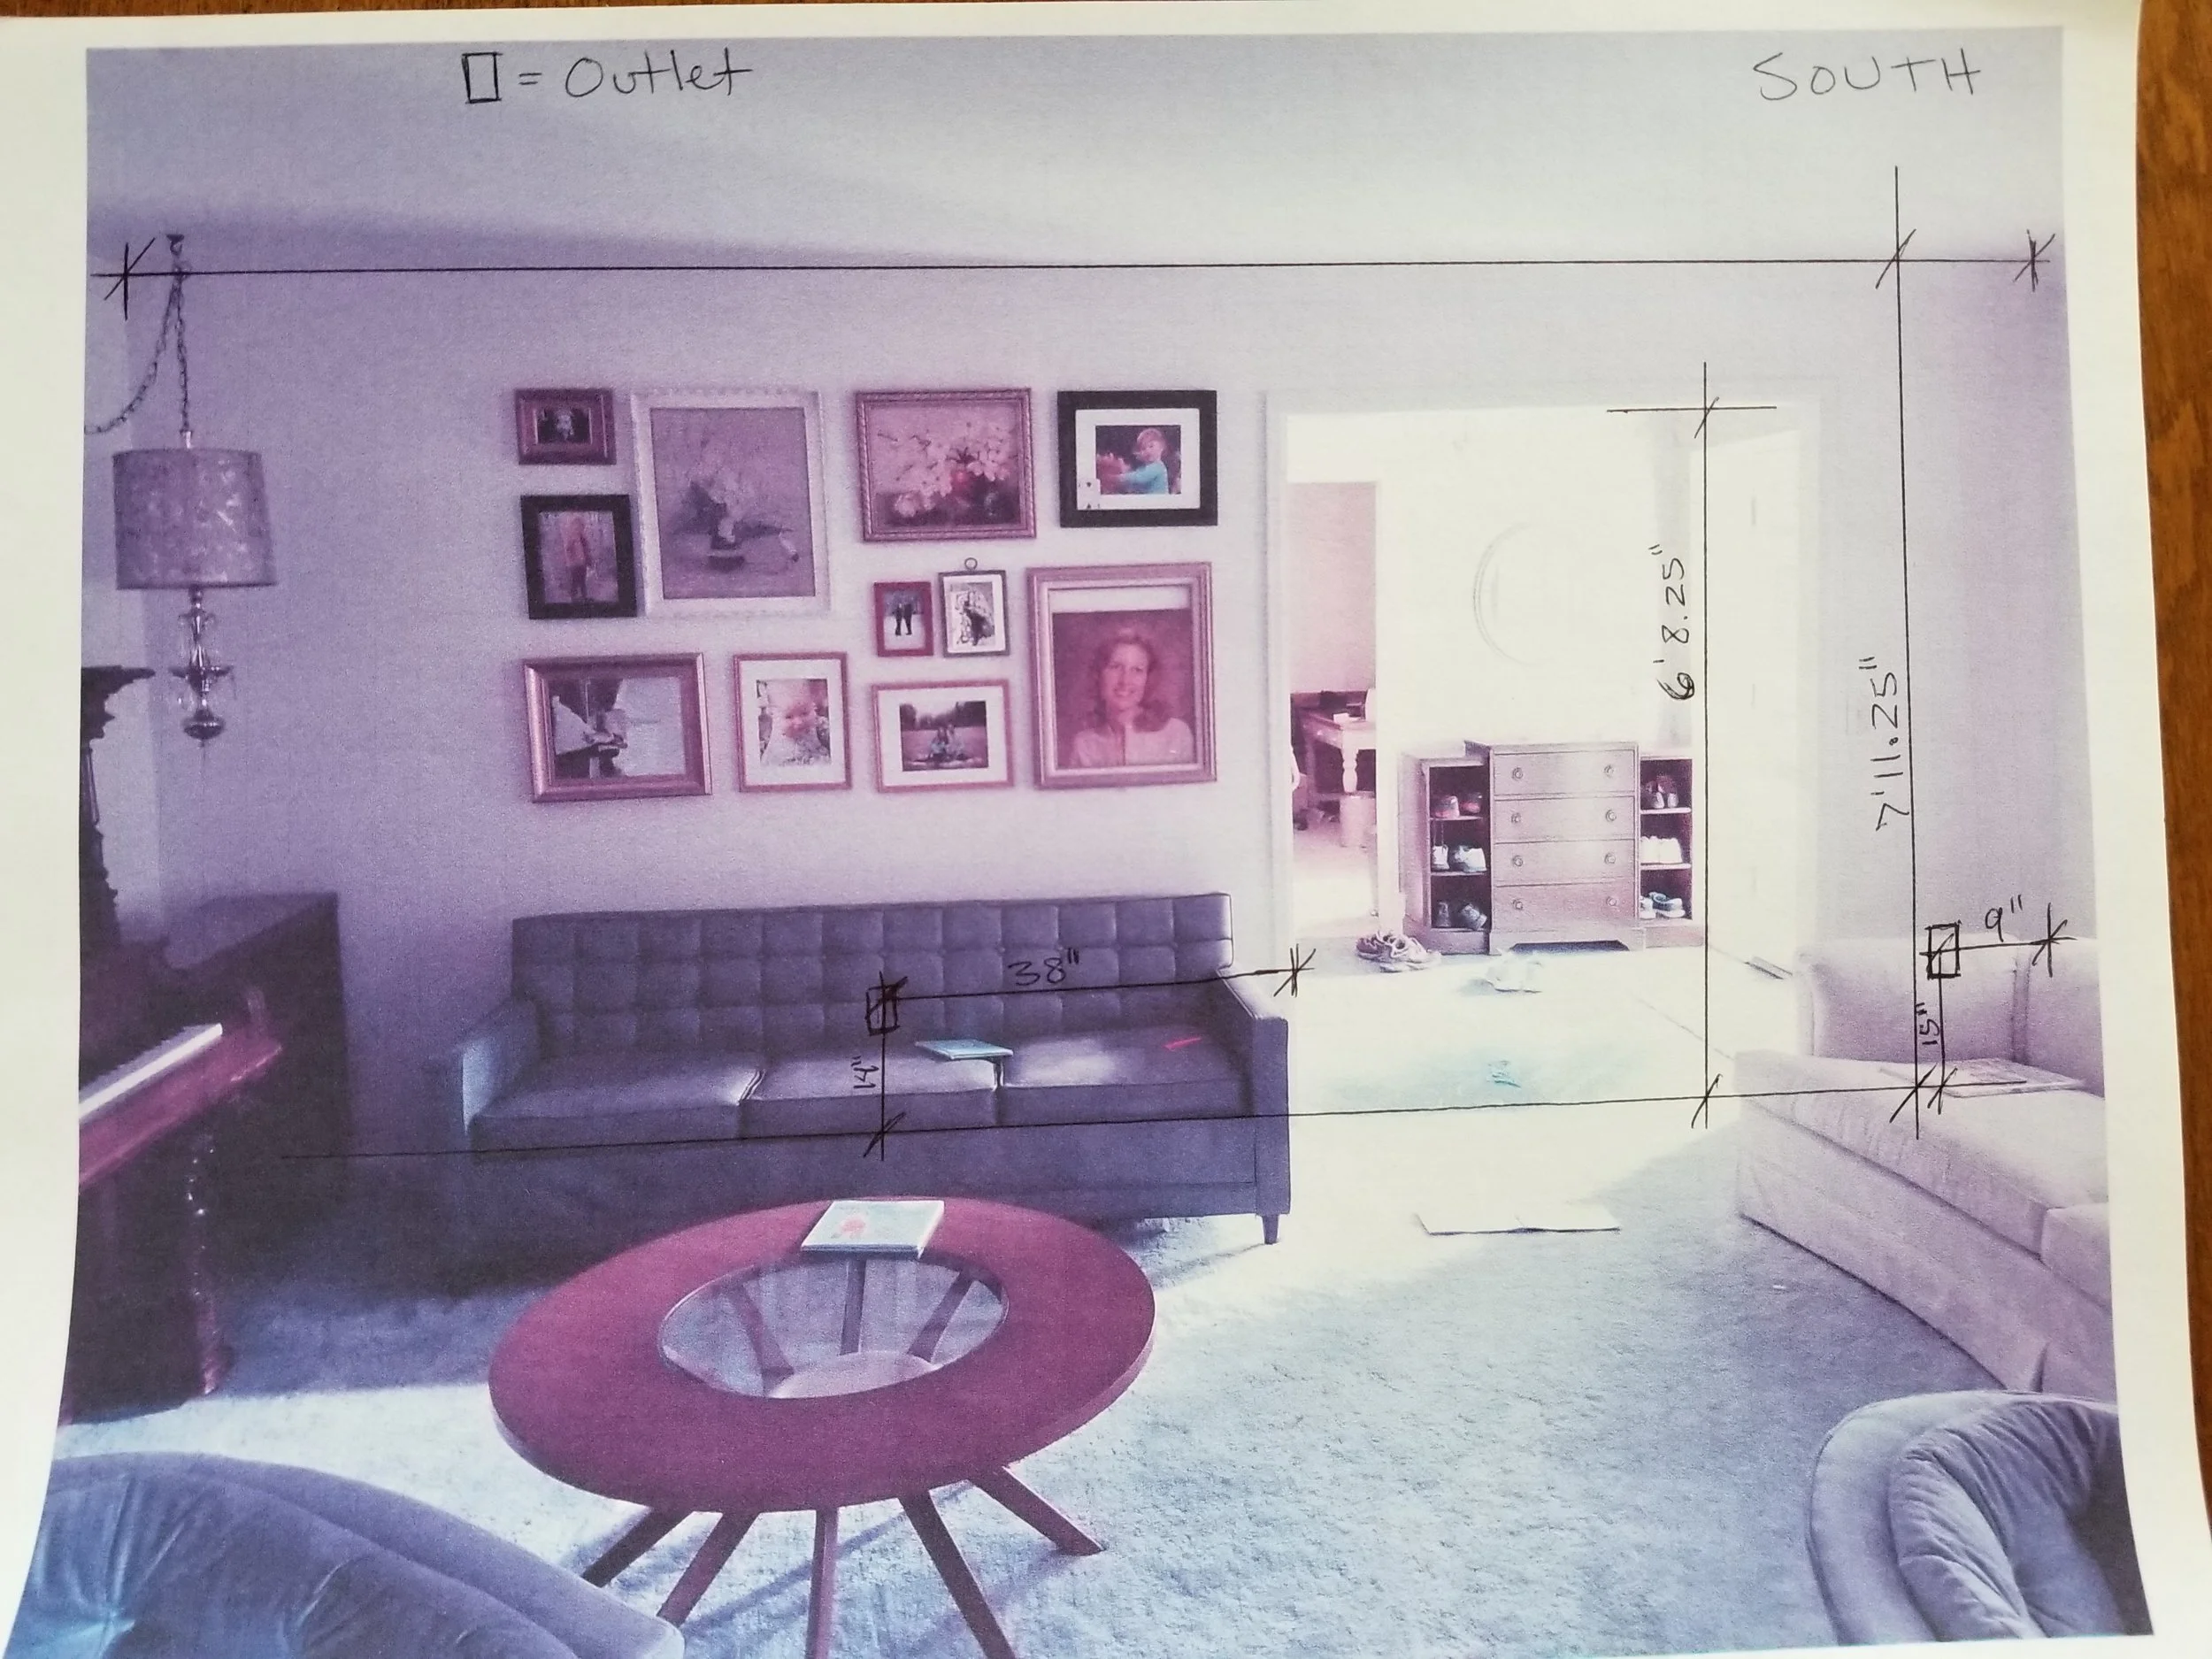
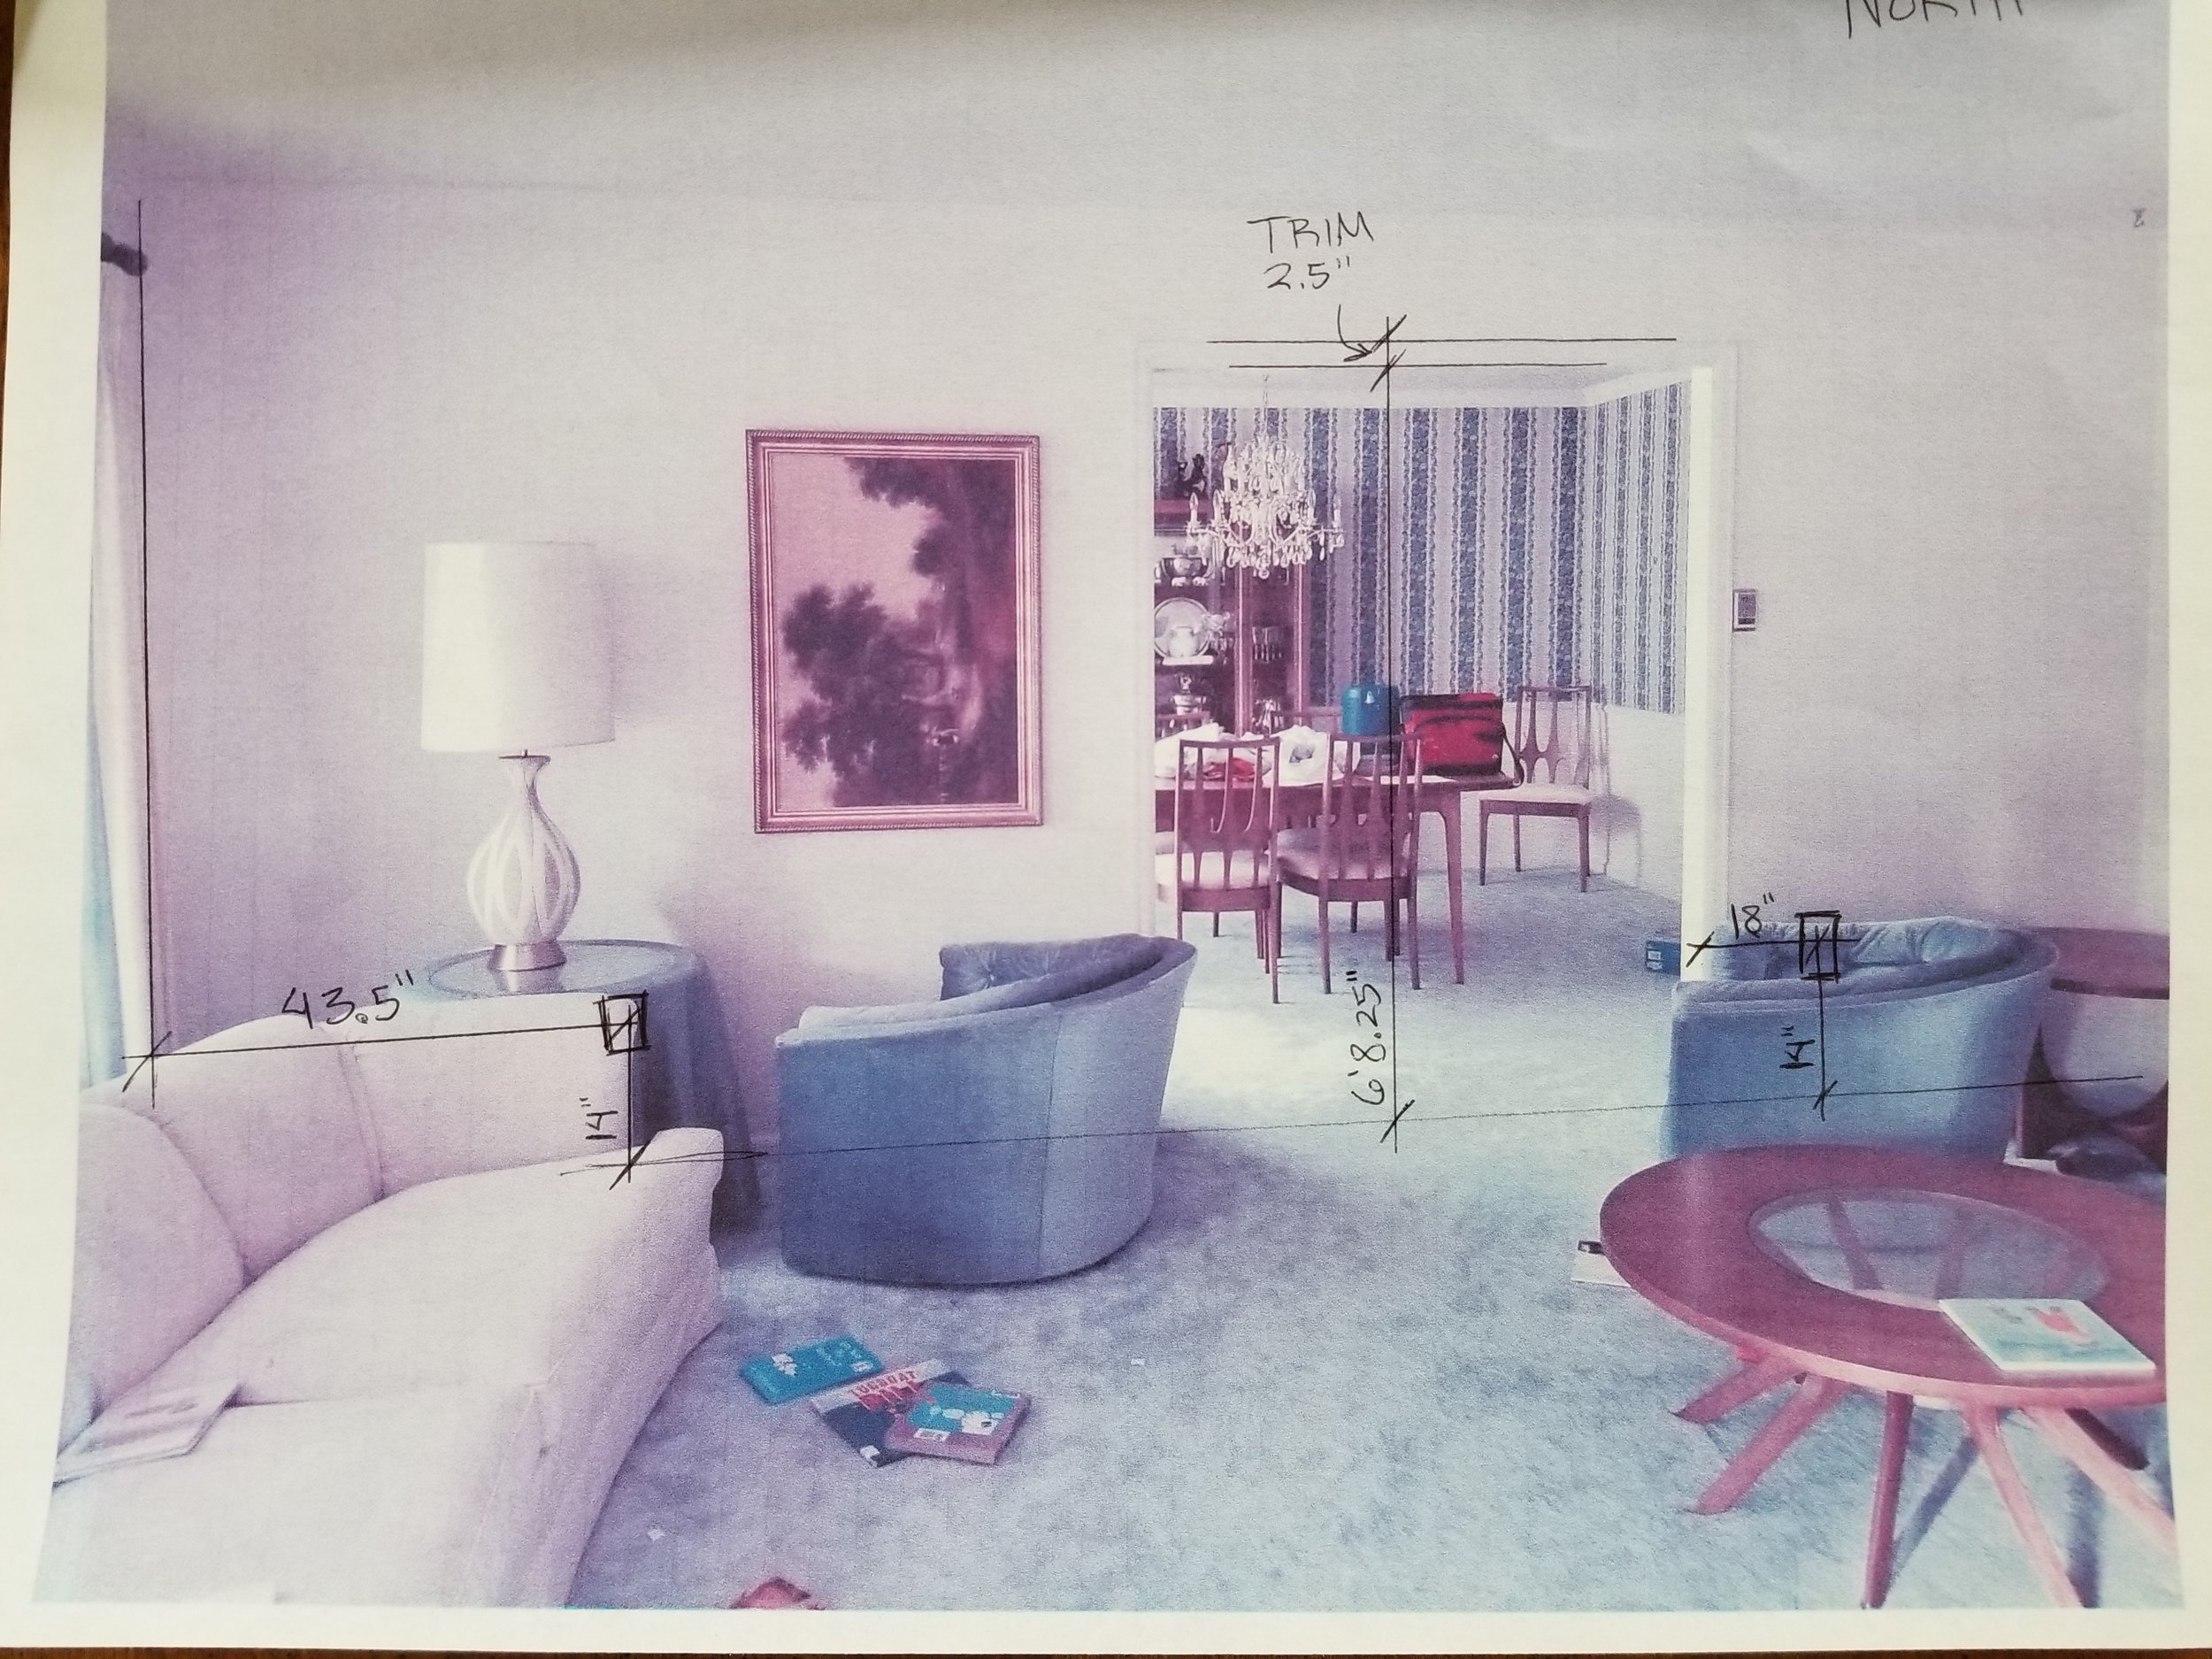
Label each elevation by their orientation (North, South, East, West, NE, NW, SE, SW). This will help me understand the lighting in your space.
Now proceed to draw a straight line for all measurements that will need to be documented. We need all horizontal and vertical measurements of the space so if you didn't document a horizontal measurement of a smaller detail on your floorplans, this is the place to do so.
Also document the placement of all electrical outlets and any fixtures such as molding, fireplaces, or lighting that are attached to the wall.
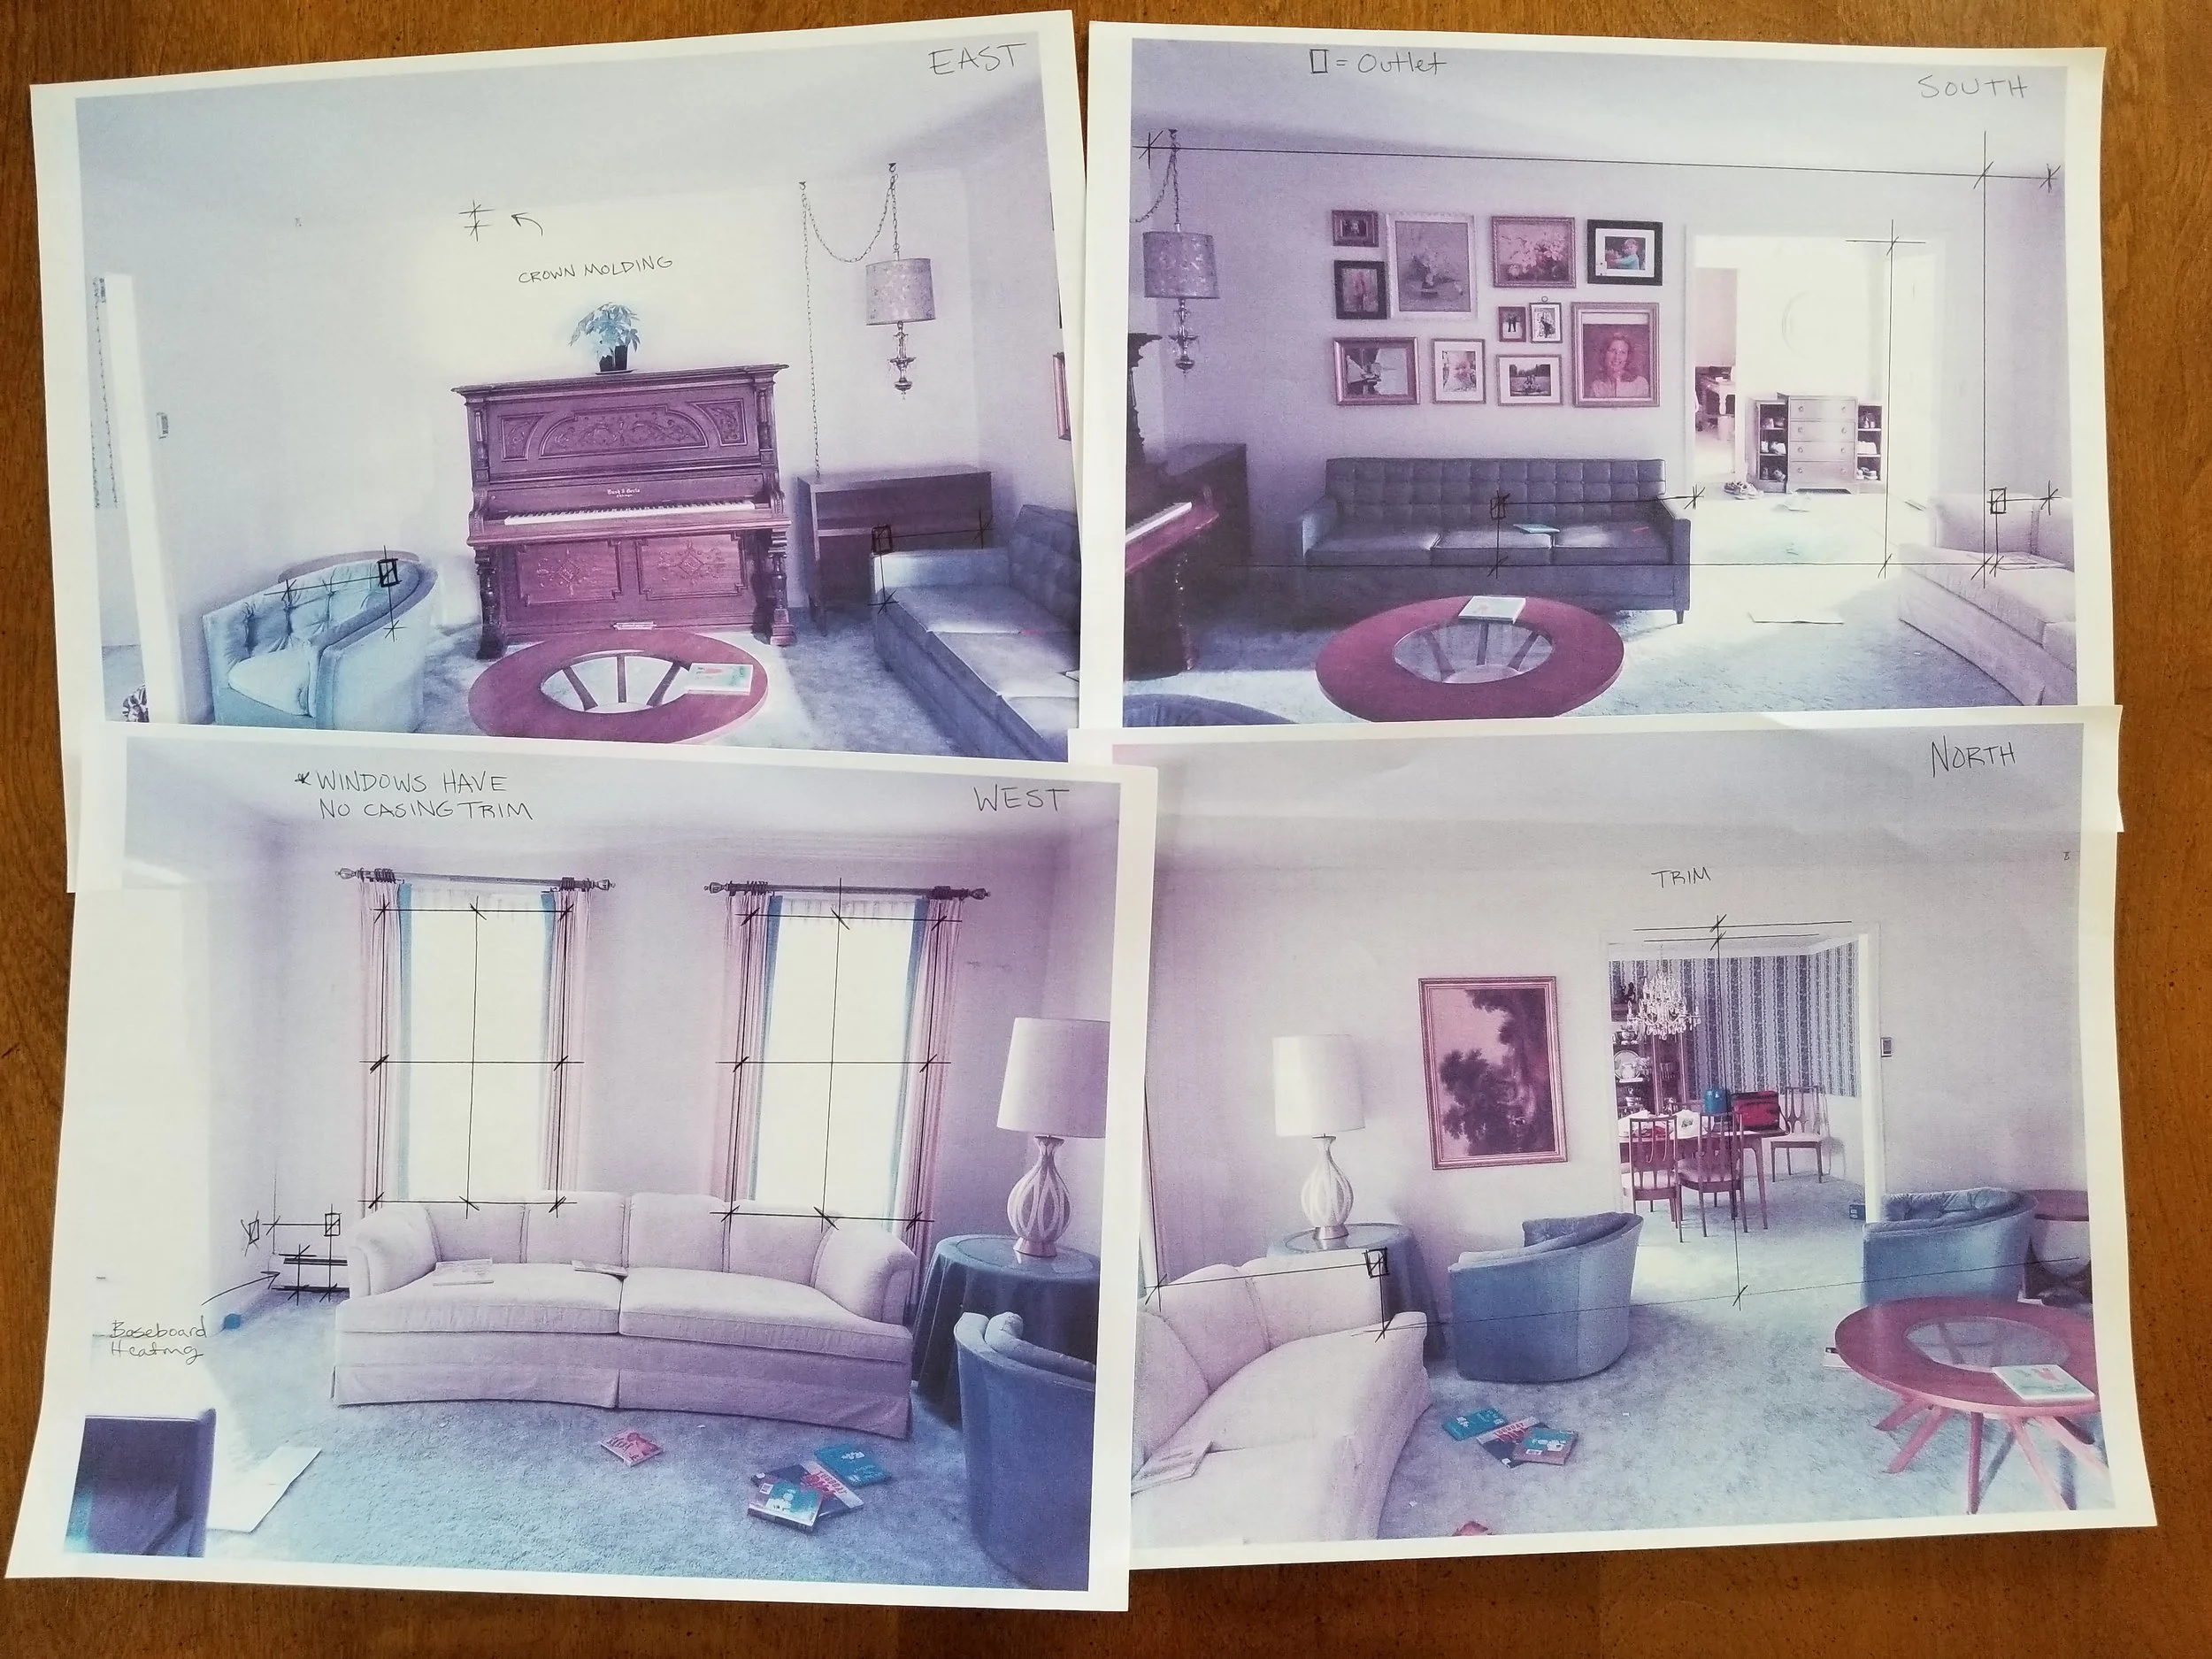
Also, in each window I will need 3 measurements for both horizontal and vertical. Measure the casing (trim) if you have it and inside the casing of the window. Every window will be different so it is important to measure EACH window instead of assuming it is the same, even if it looks the same.
STEP 4
Now it is time to measure. Fill in all your measurements and record next to the line or space you have provided on each Elevation. Please mark any electrical outlets on your walls.
Important Tips
Please be as accurate as possible (to the 1/16th of an inch), especially on windows. It will make all the difference on inside mounted window treatments. Some walls or spaces may require a second person to hold the end of the tape in the proper location in order to get an accurate measurement.
In tight spots on the elevation, write the measurement in a clear space and use an arrow to point to where it belongs.
When measuring a vertical wall measure from the floor up. Place the end of the measuring tape on the floor against the wall with numbers facing you. Next extend the measuring tape up pushing it against the wall as you continue to extend the tape. With this technique you won't have the measuring tape falling on you :)
If an elevation picture is not possible due to the smallness of the space, take it from an angle instead and proceed - or - simply draw out the elevation onto a piece of blank paper and proceed with documenting the measurements.
STEP 5
Take a clear picture or scan your completed elevations.
YOU DID IT!
Measuring Furniture
If you have any pieces of furniture or accessories that you wish to use in the space, simply take a picture of the item(s) just like the elevations and write down the overall length, width, and depth of the piece. Take a picture and email it to me as well.
FINAL STEP
Email all your pictures to amberhuntingtondesign@gmail.com and you are done!